I wanted to really dive a little bit deeper into ear tabs. How you cut them, why you cut them and all of that stuff. I do have a couple of videos where I've done ear tab cutting before. However, I don't really go into a huge in-depth conversation with you about it. Also, there’s a couple other steps that I do after I cut my ear tabs off that I really wanted to tell you all about. So, I actually run on the petite side. I have a (little) bit of a smaller head. So, ear tabs for me are usually something that I have to always cut off of a wig. When I get a wig, I cut the lace off, put it on my head, and then I tuck the hair behind my ears.

As you can see, when I tuck, I have little flaps. Super cute, right? No, not cute. I’m going to go ahead and cut these off. That way, when I tuck my hair behind my ears, it's going to lay flat… and not go flapping in the wind.

Not the cutest of looks. Am I right?
Once I have a wig on my head. I can measure and see how much of the ear tabs I'm going to want to take off. If you’re nervous about not taking off the right amount, you can take a chalk or some type of little marker or pen to mark what you want to remove. I'm not going to do that, but that's definitely an extra step that you can take if you are a little bit nervous about the exact amount that you need to remove. All right, Now we are ready to cut!
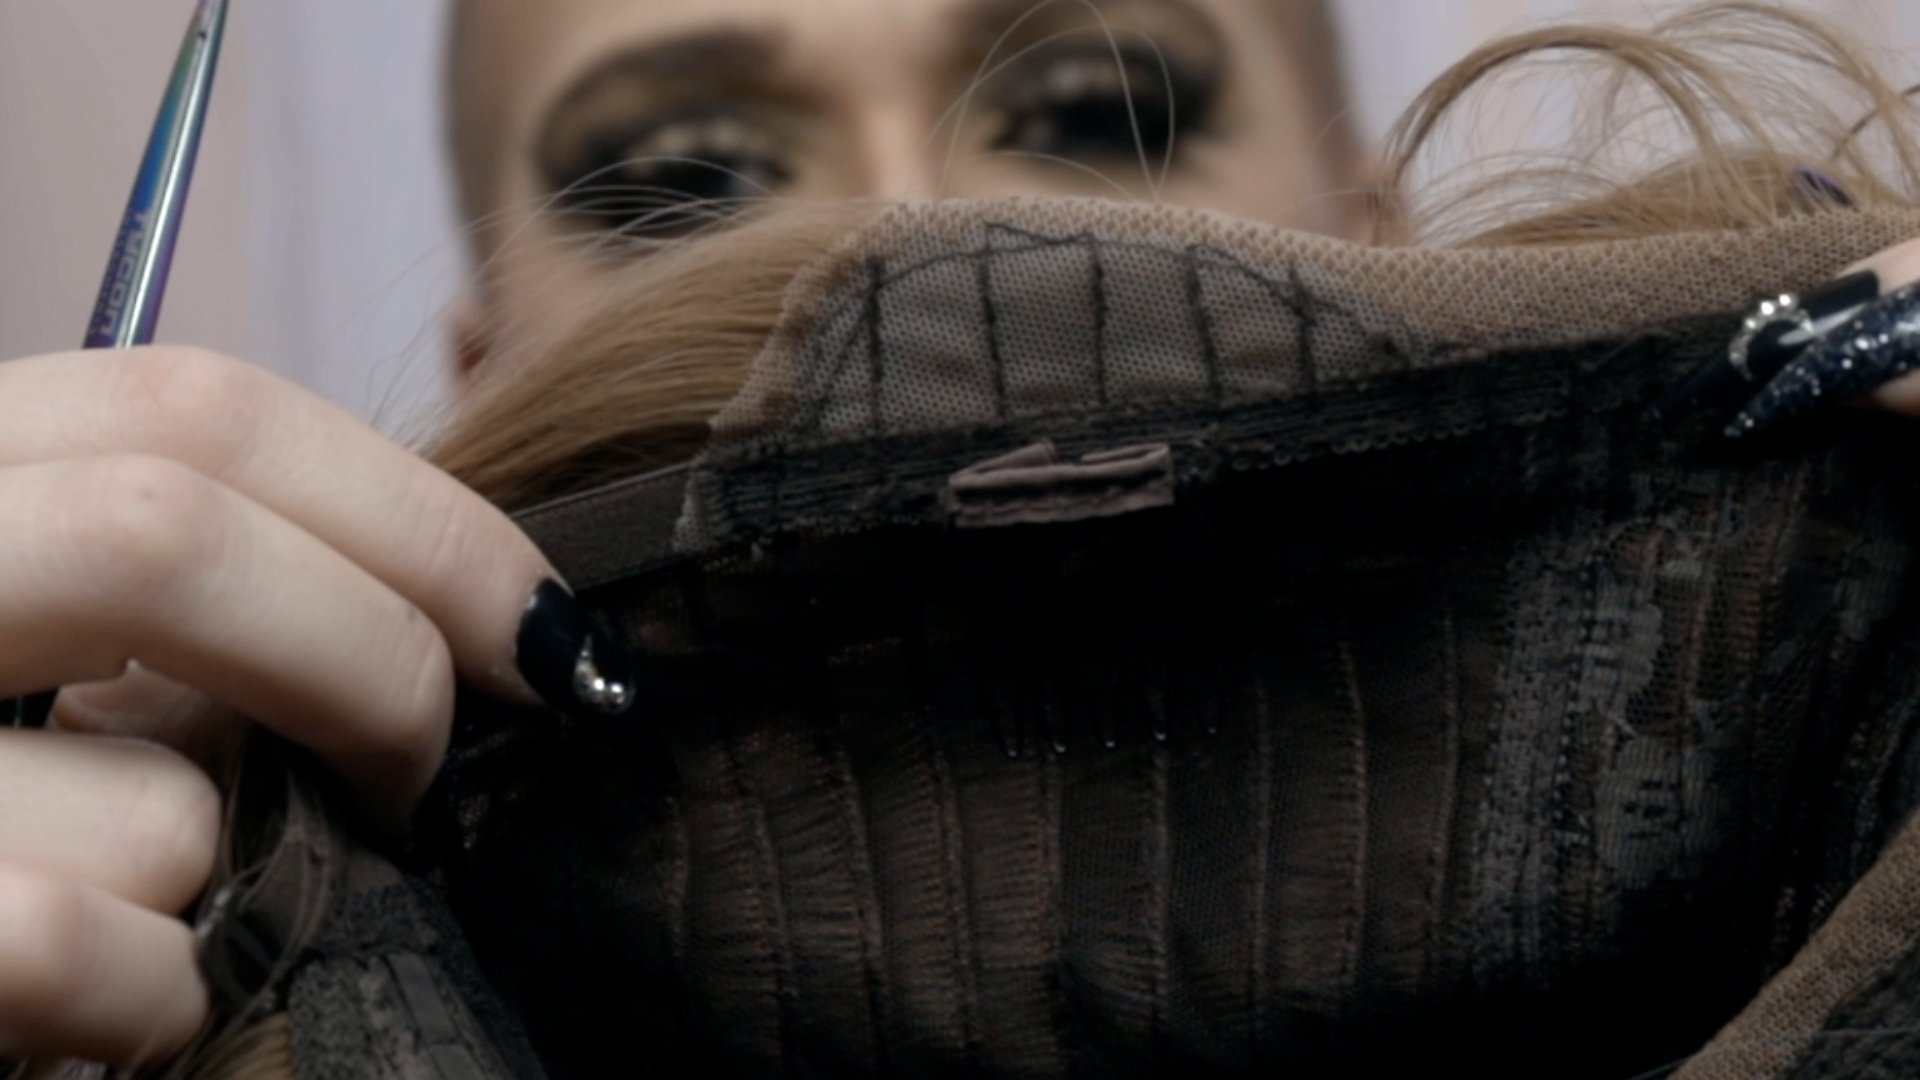
This is where people get a little nervous about cutting ear tabs off! If you look at this, ear tab right here, you can see there is sewing. So, this is where they have sewn wefts on the outside to the lace. I'm going to show you what you need to do to keep these tracks from lifting up because now we're removing some of the stitching that's there.
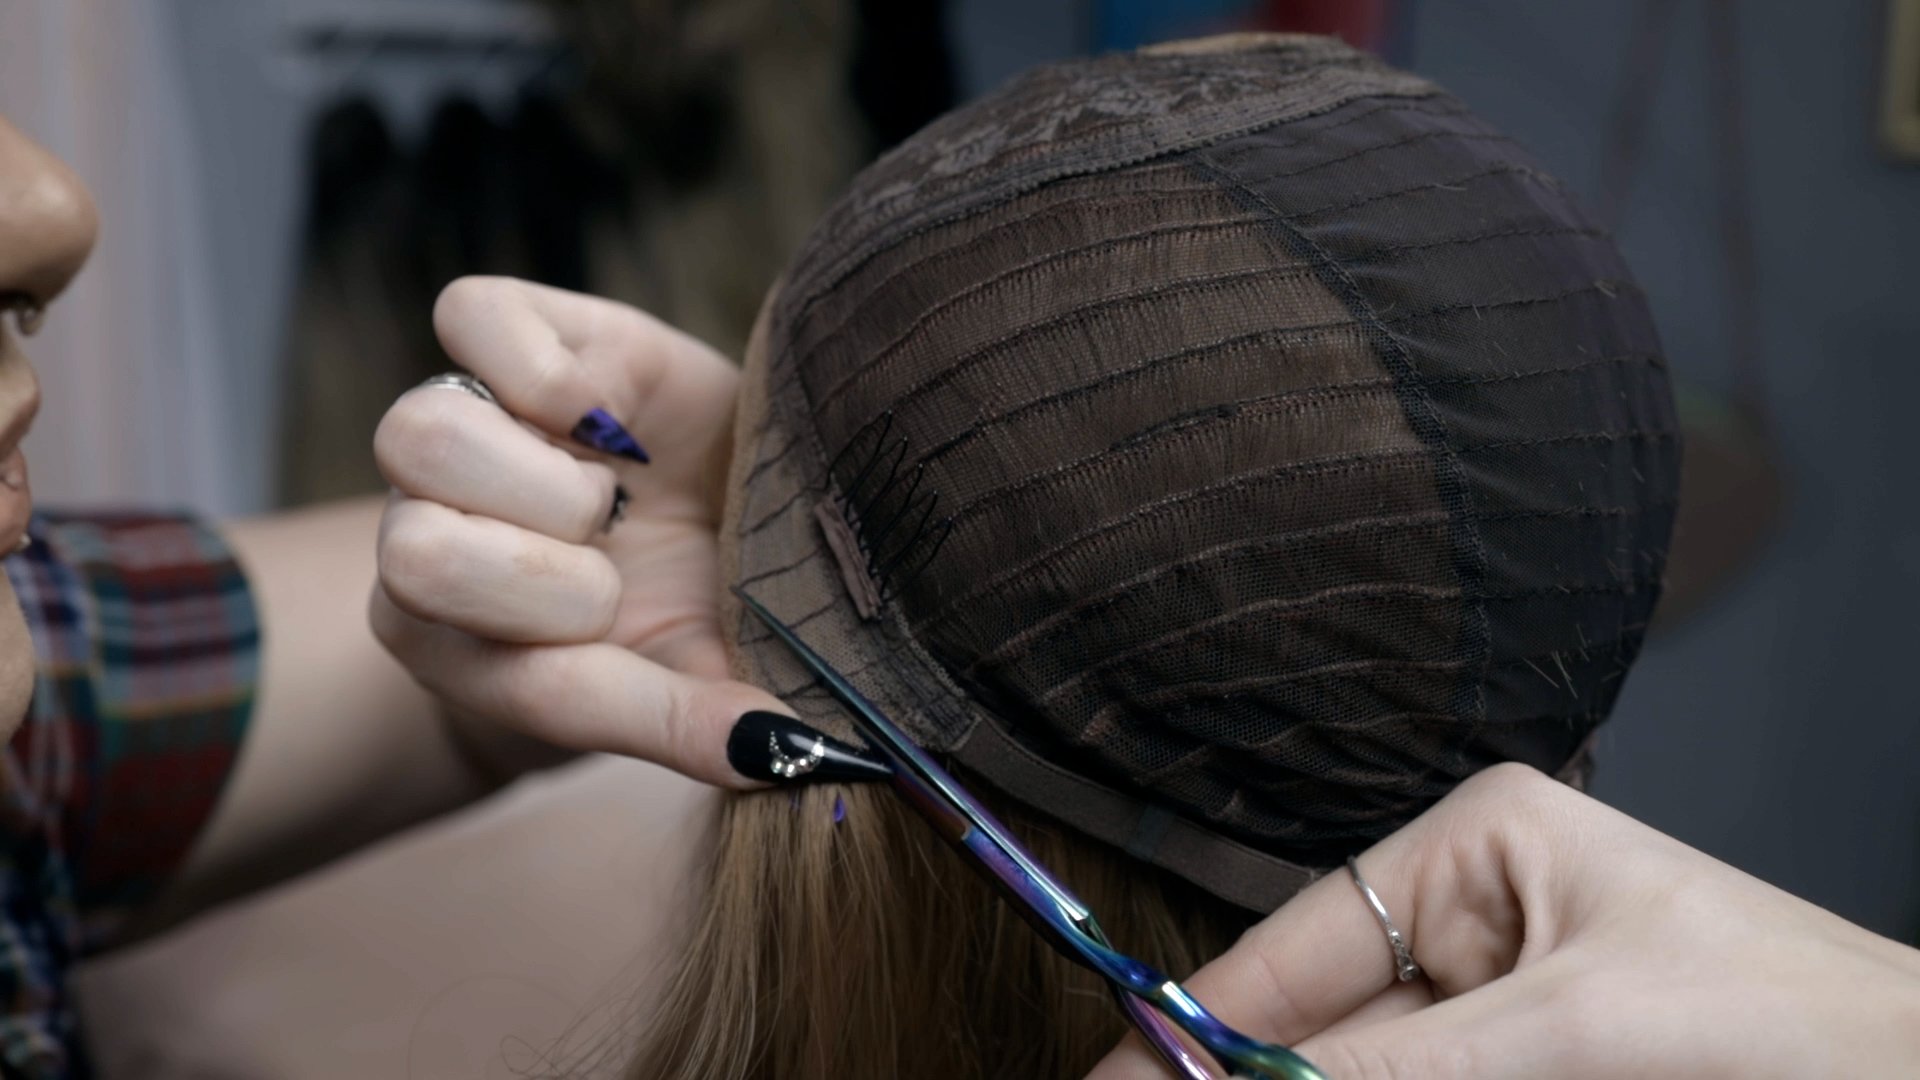
The first thing you're going to want is a pair of scissors. I recommend sharp scissors, especially when you're doing this because you have to cut through some hair, some wefting, and some sewing. Then, the other thing you're going to need is some nail glue (that’s right nail glue). You can use super glue or whichever you prefer, but I have a ton of nail glue lying around, so this is what I'm going to be using. So you can choose to do this before you cut the lace or after. I like to do it after, because I can really see what I need to remove. You're going to see I'm cutting into this sewing and that is completely fine. Don't worry about it! It'll be all right!
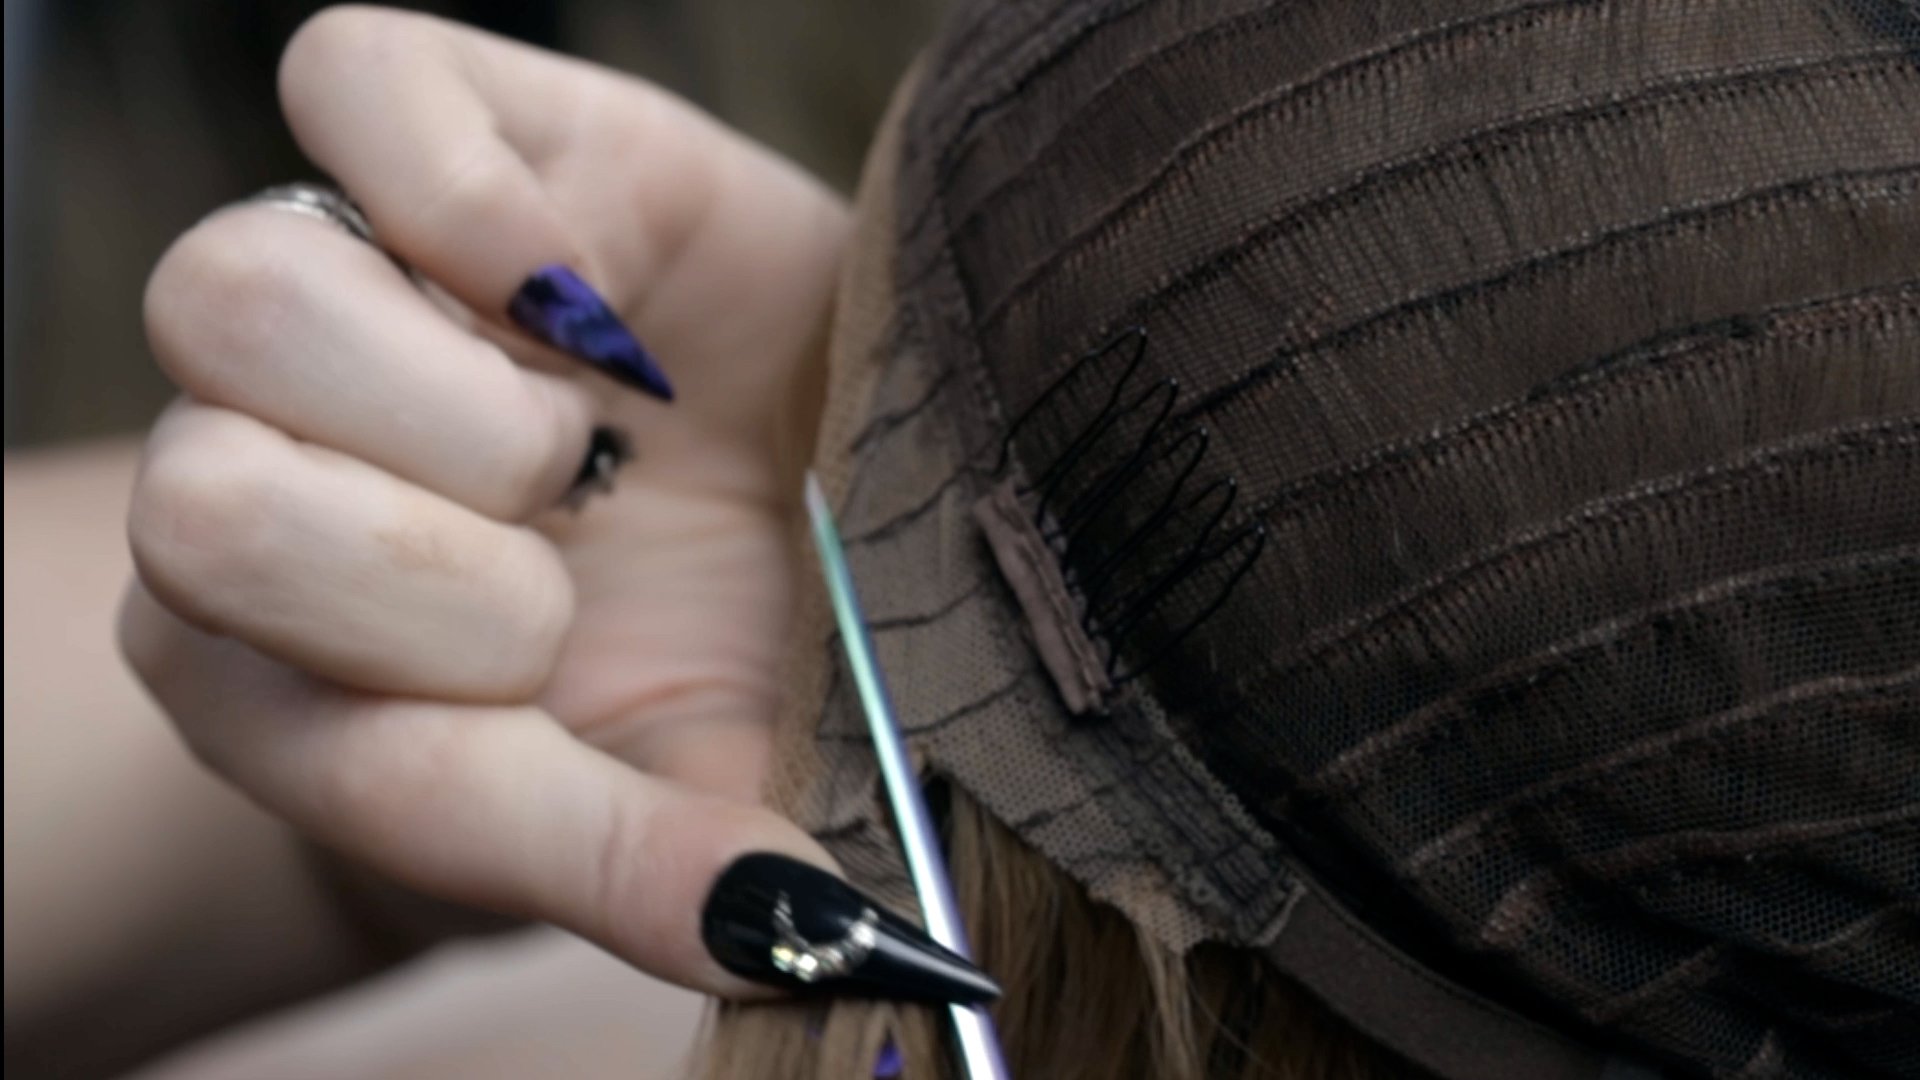
Make sure to follow just below the line you made.
You want to follow your line all the way through. I would suggest cutting right below the line. This ensures you don’t over cut. Then, you can go back and clean it up properly.
So, that's what you're going to have when you're done. It will vary based on the shape of your ear, but I usually need to just go straight across for mine.
Then you're going to want to just take a brush. My detangling brush works well, obviously, I would recommend it to get out extra hairs and detangle anything. I think it's really great for this process in particular.
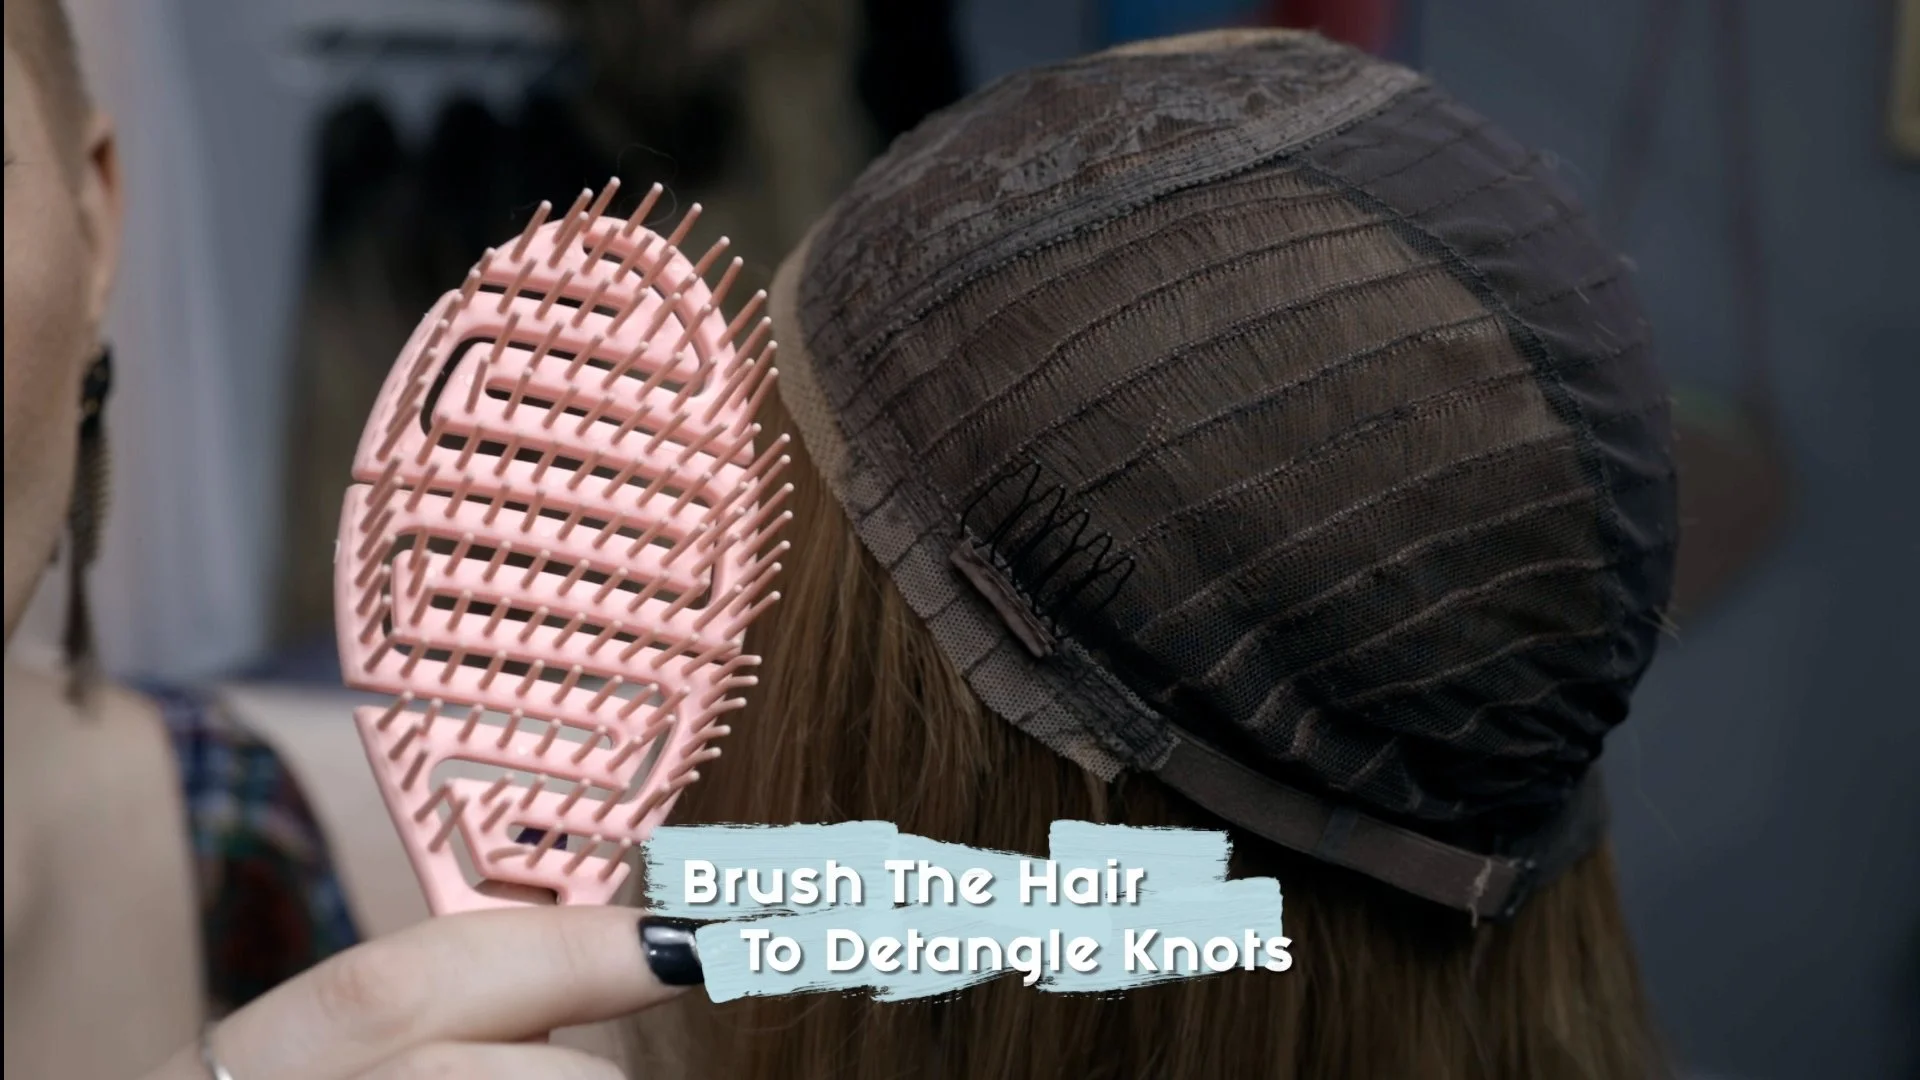

You're going to want to make sure that you brush all of that extra hair out because you are going to have quite a bit that is going to come out of here! The other thing I really like about doing this is it's really going to kind of help thin out the area around your face, especially if you do run smaller like I do. It helps soften the front.
Tell me how you’re doing! Leave a comment below or email me at wigsupport@jmsimons.com
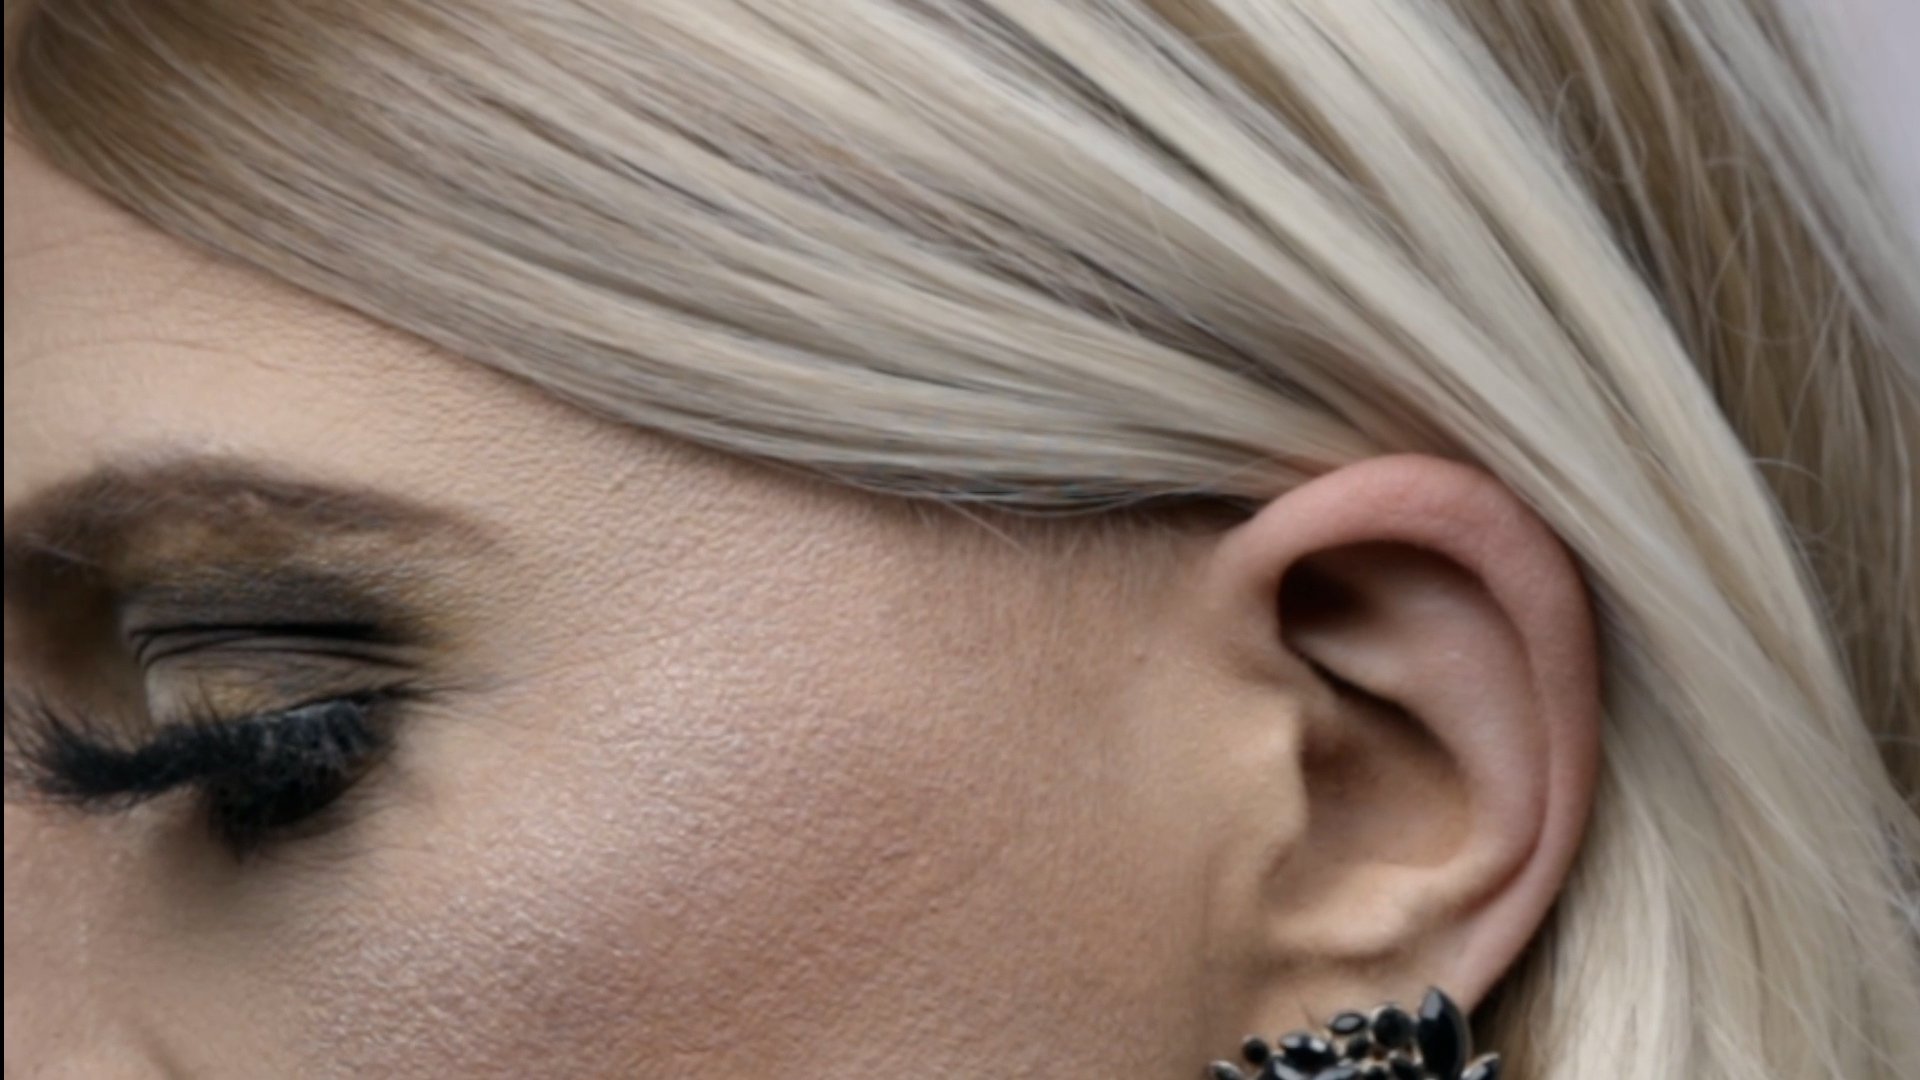
So, after I go ahead and cut it where I think it needs to be, I'm going to go ahead and throw it on and check to make sure I'm good. You can see now, when I'm tucking, this is staying completely down and flat. The only issue you might have when you're cutting your tabs is you might see your sideburns coming out a little bit. If it doesn't match that wig, then you're going to notice it. Normally, I shave my sideburns. I wouldn't have any hair here and then you wouldn't really be able to tell the difference!
Now, let’s get back to the wefts! If you don't do something to seal them, you could start having wefts coming off of your head! That's not a good look. So, what I like to do is pin the side of the hair back. That's going to show you right away if any of your wefts are lifting. You’re going to take nail glue and put a little dot right underneath the weft. Then, press it to the lace and that's really going to fix it. When I'm doing this, I am taking my fingers and I am pinching. This is so I don't accidentally attach the lace to my wig head. I also want to make sure when I'm doing it, I'm moving any of the weft hair that is sitting right next to it, because I don't want to glue the hair on top of it.
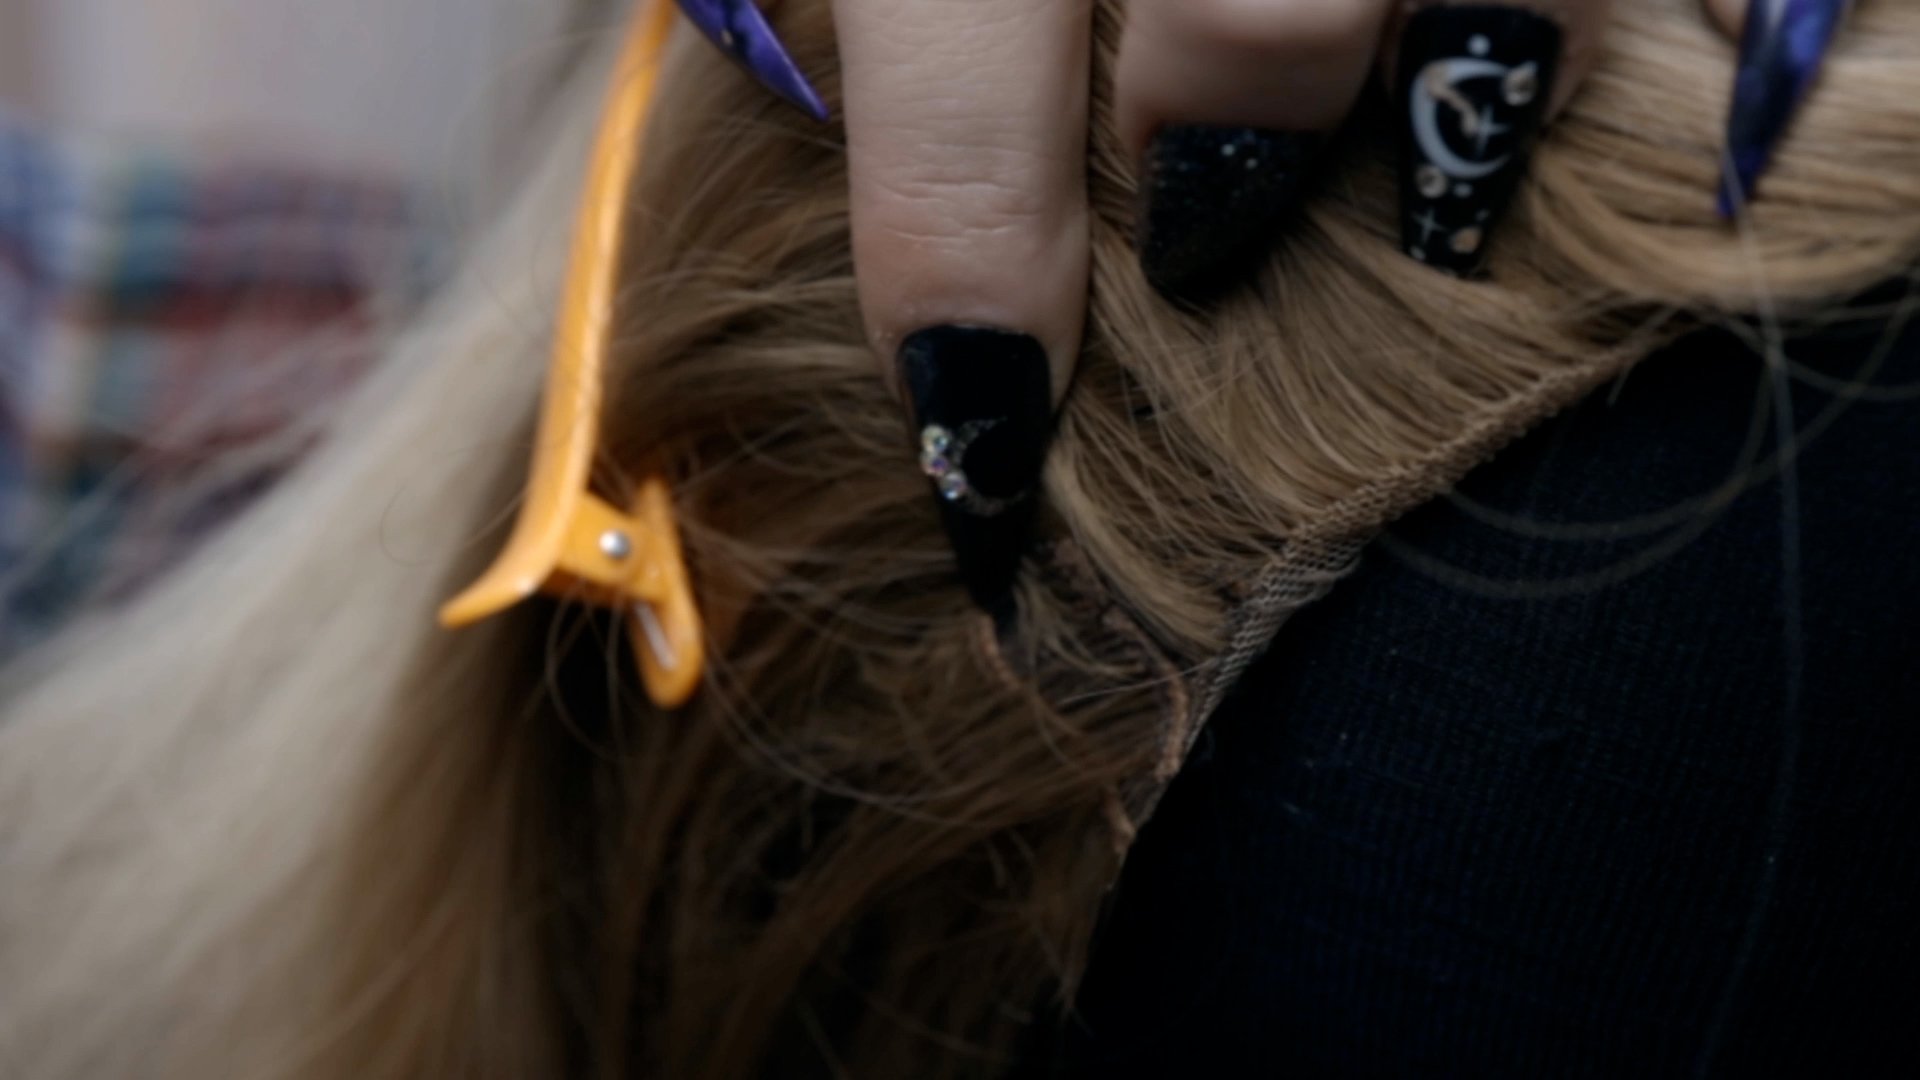
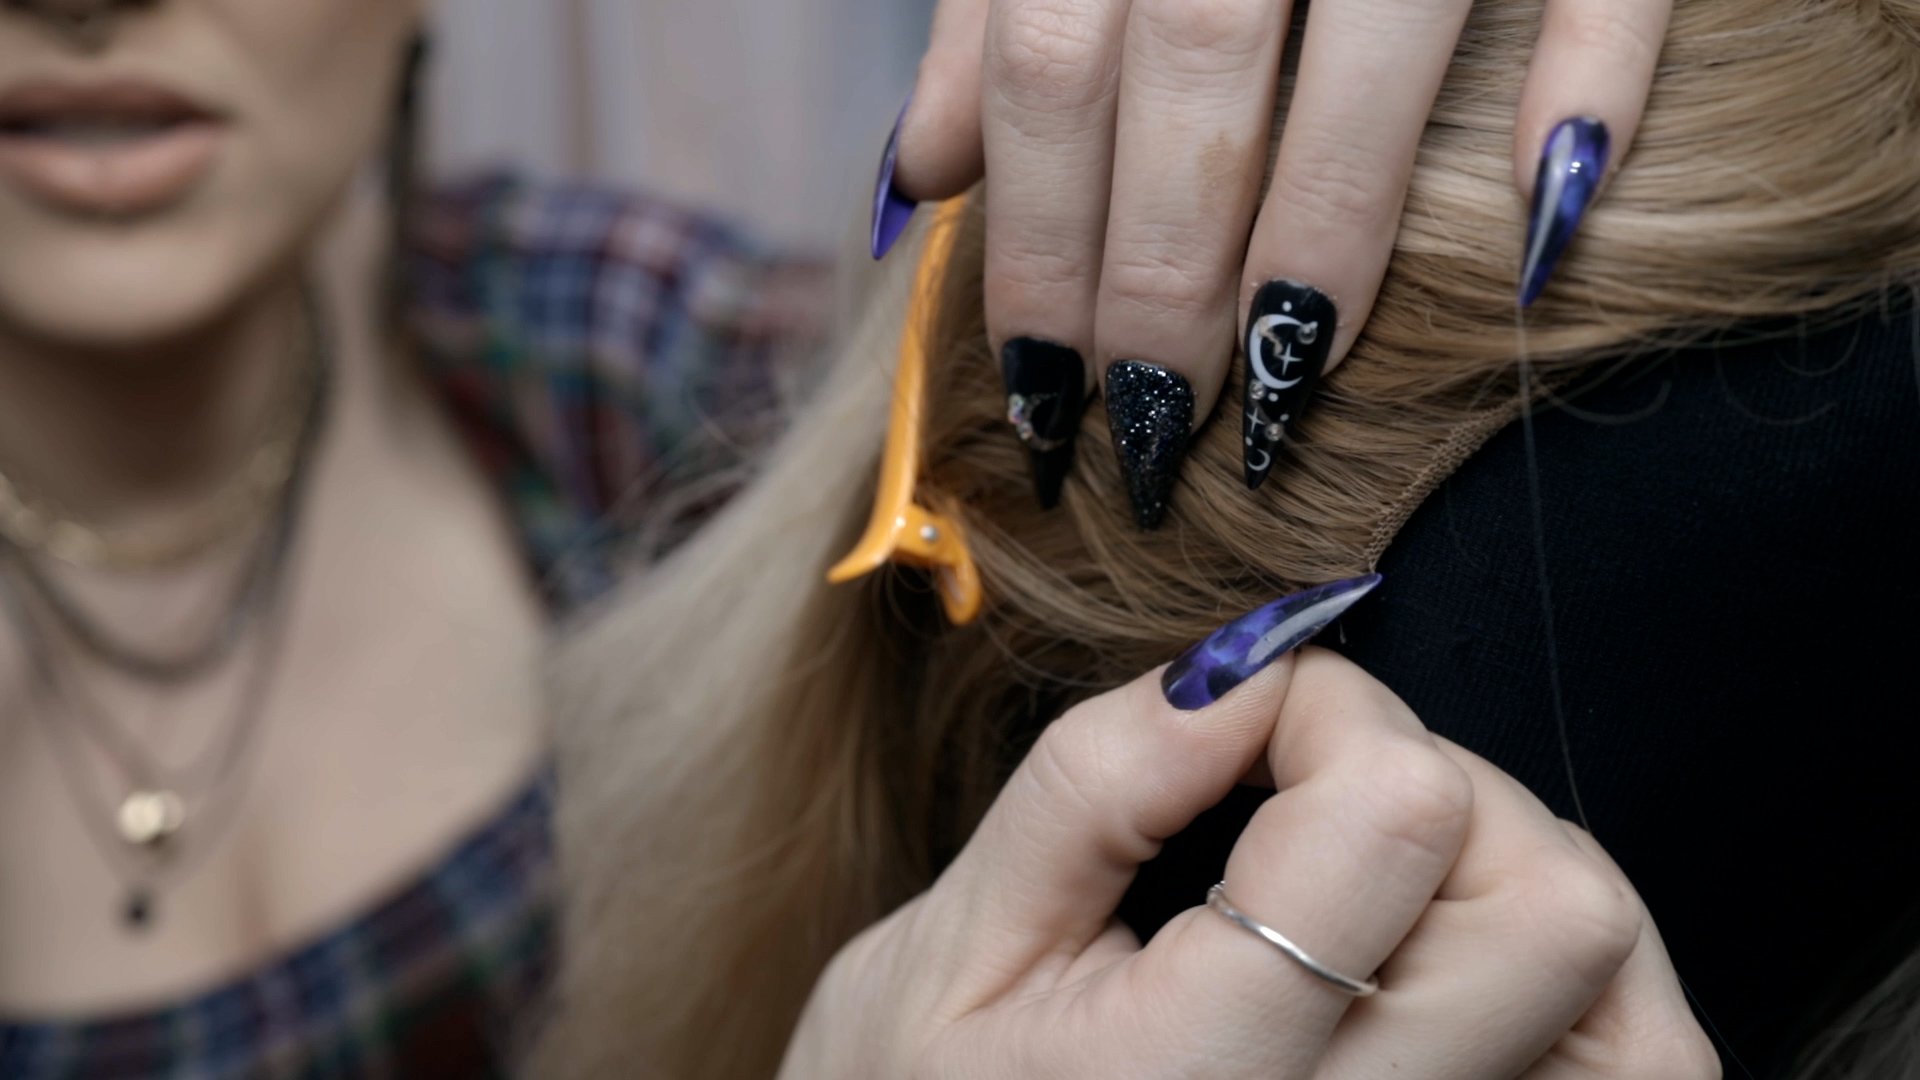
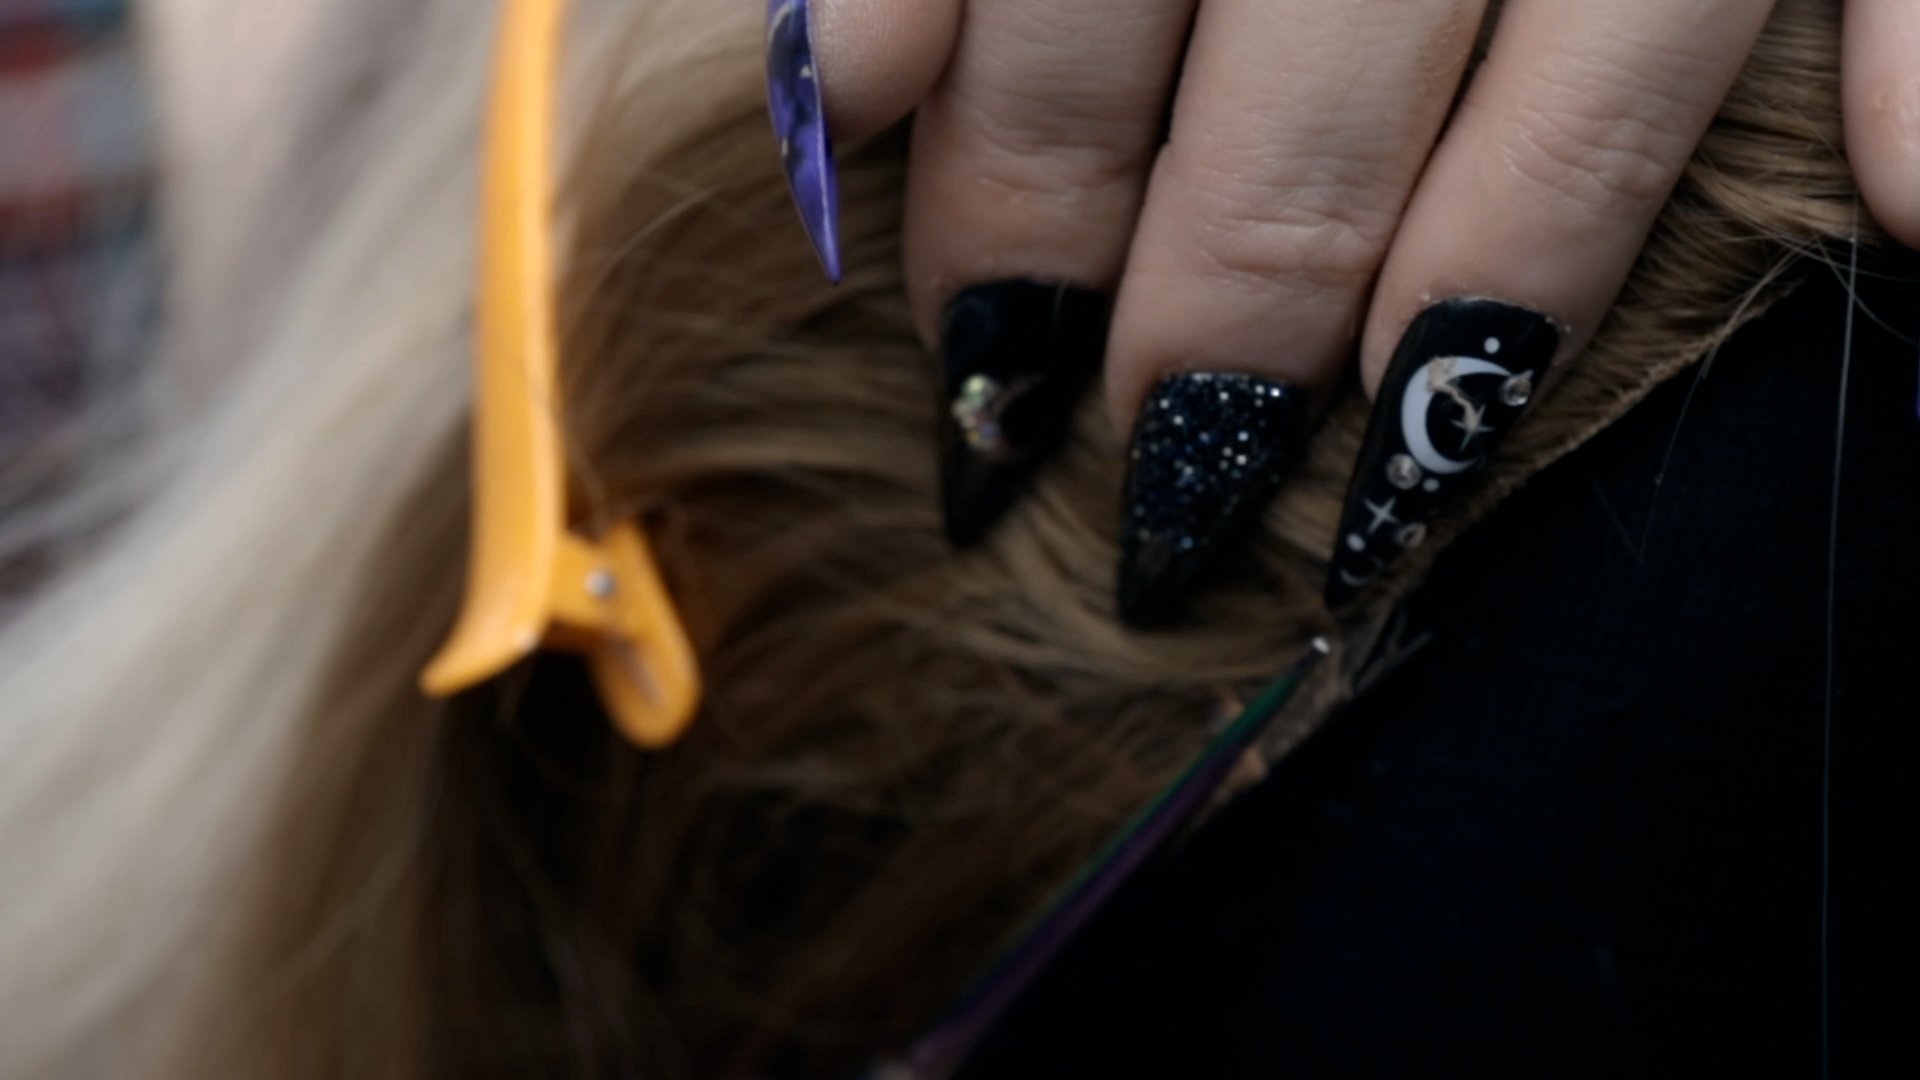
Sometimes I will also notice once I glue them down there might be a little bit more sticking out then the lace. So, go ahead and trim it.
Now you’re good to go. It's pretty easy to do. I know that taking scissors to the lace, especially when you're cutting into sewing, can be really scary. So I just wanted to clear up all of your questions and show you that it actually is quite easy to do and this is the best way to customize your wig to your head. Most synthetic wigs are not custom fit for you. They're kind of a one size fits all, which doesn't fit all. So this is a great way to customize your wig, to make it your own, and to really make sure it fits you perfectly!

Written By: Jesse M. Simons
