Hey there wig lovers! Today, I'm going to show you how to give some love and care to your wig that needs a little pick-me-up. We'll be focusing on repairing the ends, so let's dive right in!
Step 1: Assess the Condition
You'll know it's time to repair your wig when you start noticing matting and a rough texture. If washing or using a silicone soak didn't do the trick, it's time to take action!

Not the cutest of looks. Am I right?
Step 2: Gather Your Tools
For this repair, you'll only need two products: a hot comb and a synthetic wig spray. I recommend mine but if you have one you already love that will work! Just these 2 things will work wonders in bringing your wig back to life.

Prepping Your Synthetic Wig Helps Protect It From The Heat!
Step 3: Prep the Wig
Spray your trusty synthetic wig spray generously onto the ends of your wig where you'll be working. You want them to be damp, not drenched. This will help when applying heat and give a steaming effect, aiding in the repair process.
Step 4: Detangle with Caution
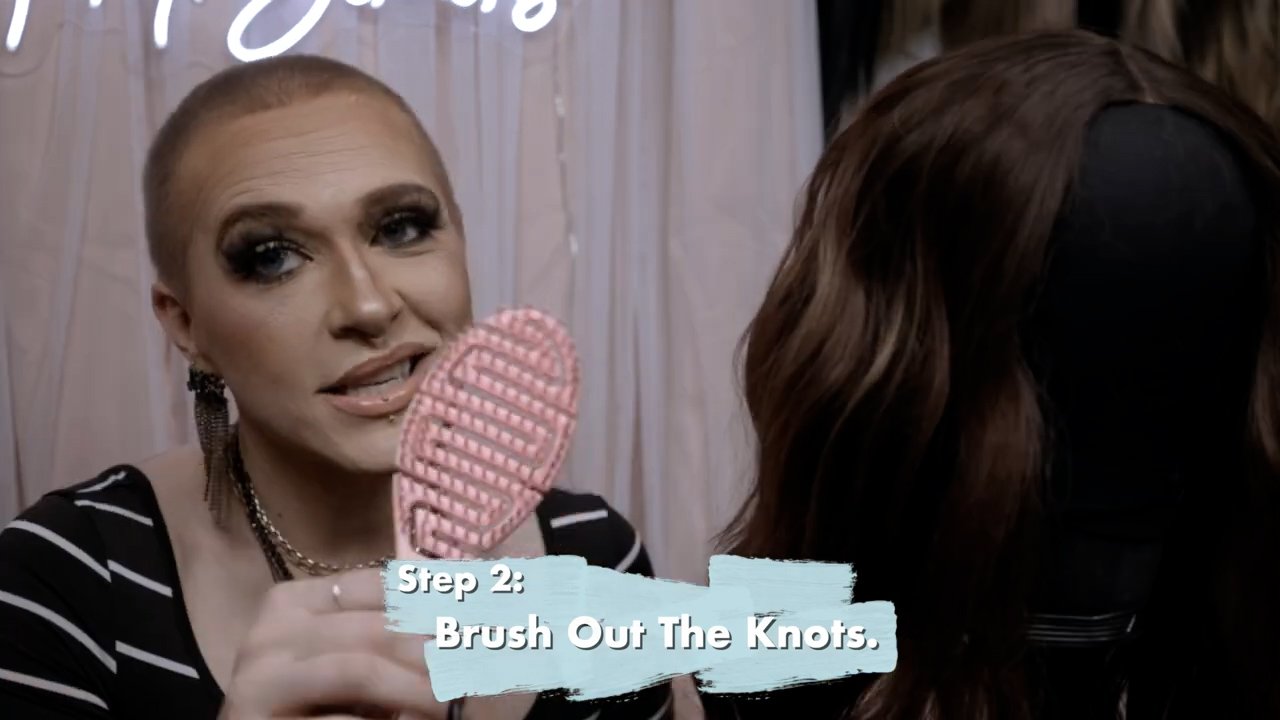
Before applying any heat, make sure to brush out any knots or tangles. Heat tools and knots don't mix well, and we want to avoid any potential damage. Take your time and be gentle.

Brush Out Your Synthetic Wig For Best Results!
Step 5: Repair Section by Section
Now, it's time to work your magic! Starting from the bottom, run the heat comb through the wig section by section. This method is perfect for fixing ends, making them straight and smooth without removing any curl.

Make sure to follow just below the line you made.
Step 6: Watch the Magic Happen
As you run the heat comb through, you'll witness the fibers repairing themselves right before your eyes. Those stringy matting situations will disappear, leaving you with instant gratification.


Always Start With Low Heat When You Do This!
Step 7: Adjust the Heat
For this technique, I recommend setting your heat comb to around 355°F. However, it's essential to know your wig's limits. If you're unsure, start at a lower temperature around 250°F/280°F and perform a test strand at the bottom to ensure it's suitable for your wig.
Step 8: Work Your Way Around
Continue repairing the entire wig, section by section. If you're dealing with a curly wig, you'll need to straighten the ends first before deciding whether to re-curl or leave them straight.

Make Sure You Get Those Ends!
Step 9: Final Touches
After repairing the ends, lower the heat comb to about 200°F and quickly run it through the rest of the wig. This step will help tame any flyaways and blend the repaired ends with the rest of your wig.

Another Option! Straighten The Wig.

Use A Steamer! I Have A Video On This!

Or Cut The Ends Of Your Wig!
Step 10: Rock Your Fabulous Wig!
Congratulations, you've successfully repaired your synthetic wig! Now, put it on and rock your best wig life with confidence. Remember, heat can be a fantastic tool when it comes to wig care, as long as you use it wisely.
Live Your Best Wig Life!


