

(Ear To Ear)
Hey guys! Today, I want to show you an easy step-by-step method for resizing the cap of your wig from ear to ear. A fellow wig sister Elizabeth asked about this on a video, so I wanted to do a blog dedicated to this topic because I think it's something you'll find really useful.
First of all, let me assure you that this method doesn't require any cutting, which is great because cutting a wig can be quite intimidating. Instead, we'll be using a sewing and cinching technique to resize the wig. This method is especially helpful if you have ear tabs and don't want to cut them, but still need to resize the wig to fit your smaller head from ear to ear.
Curved Needle. https://amzn.to/47CIk4y
Either thread that matches the roots or the wig cap- https://amzn.to/47CIk4y
Clear Thread or Thin Fishing Line- https://amzn.to/3shs3Cf
Wig Head Is A Must Have! Link to my favorite! https://amzn.to/3sjfshD https://amzn.to/3wYS72r
Gather Your Things
Here's what you'll need for this method:
-
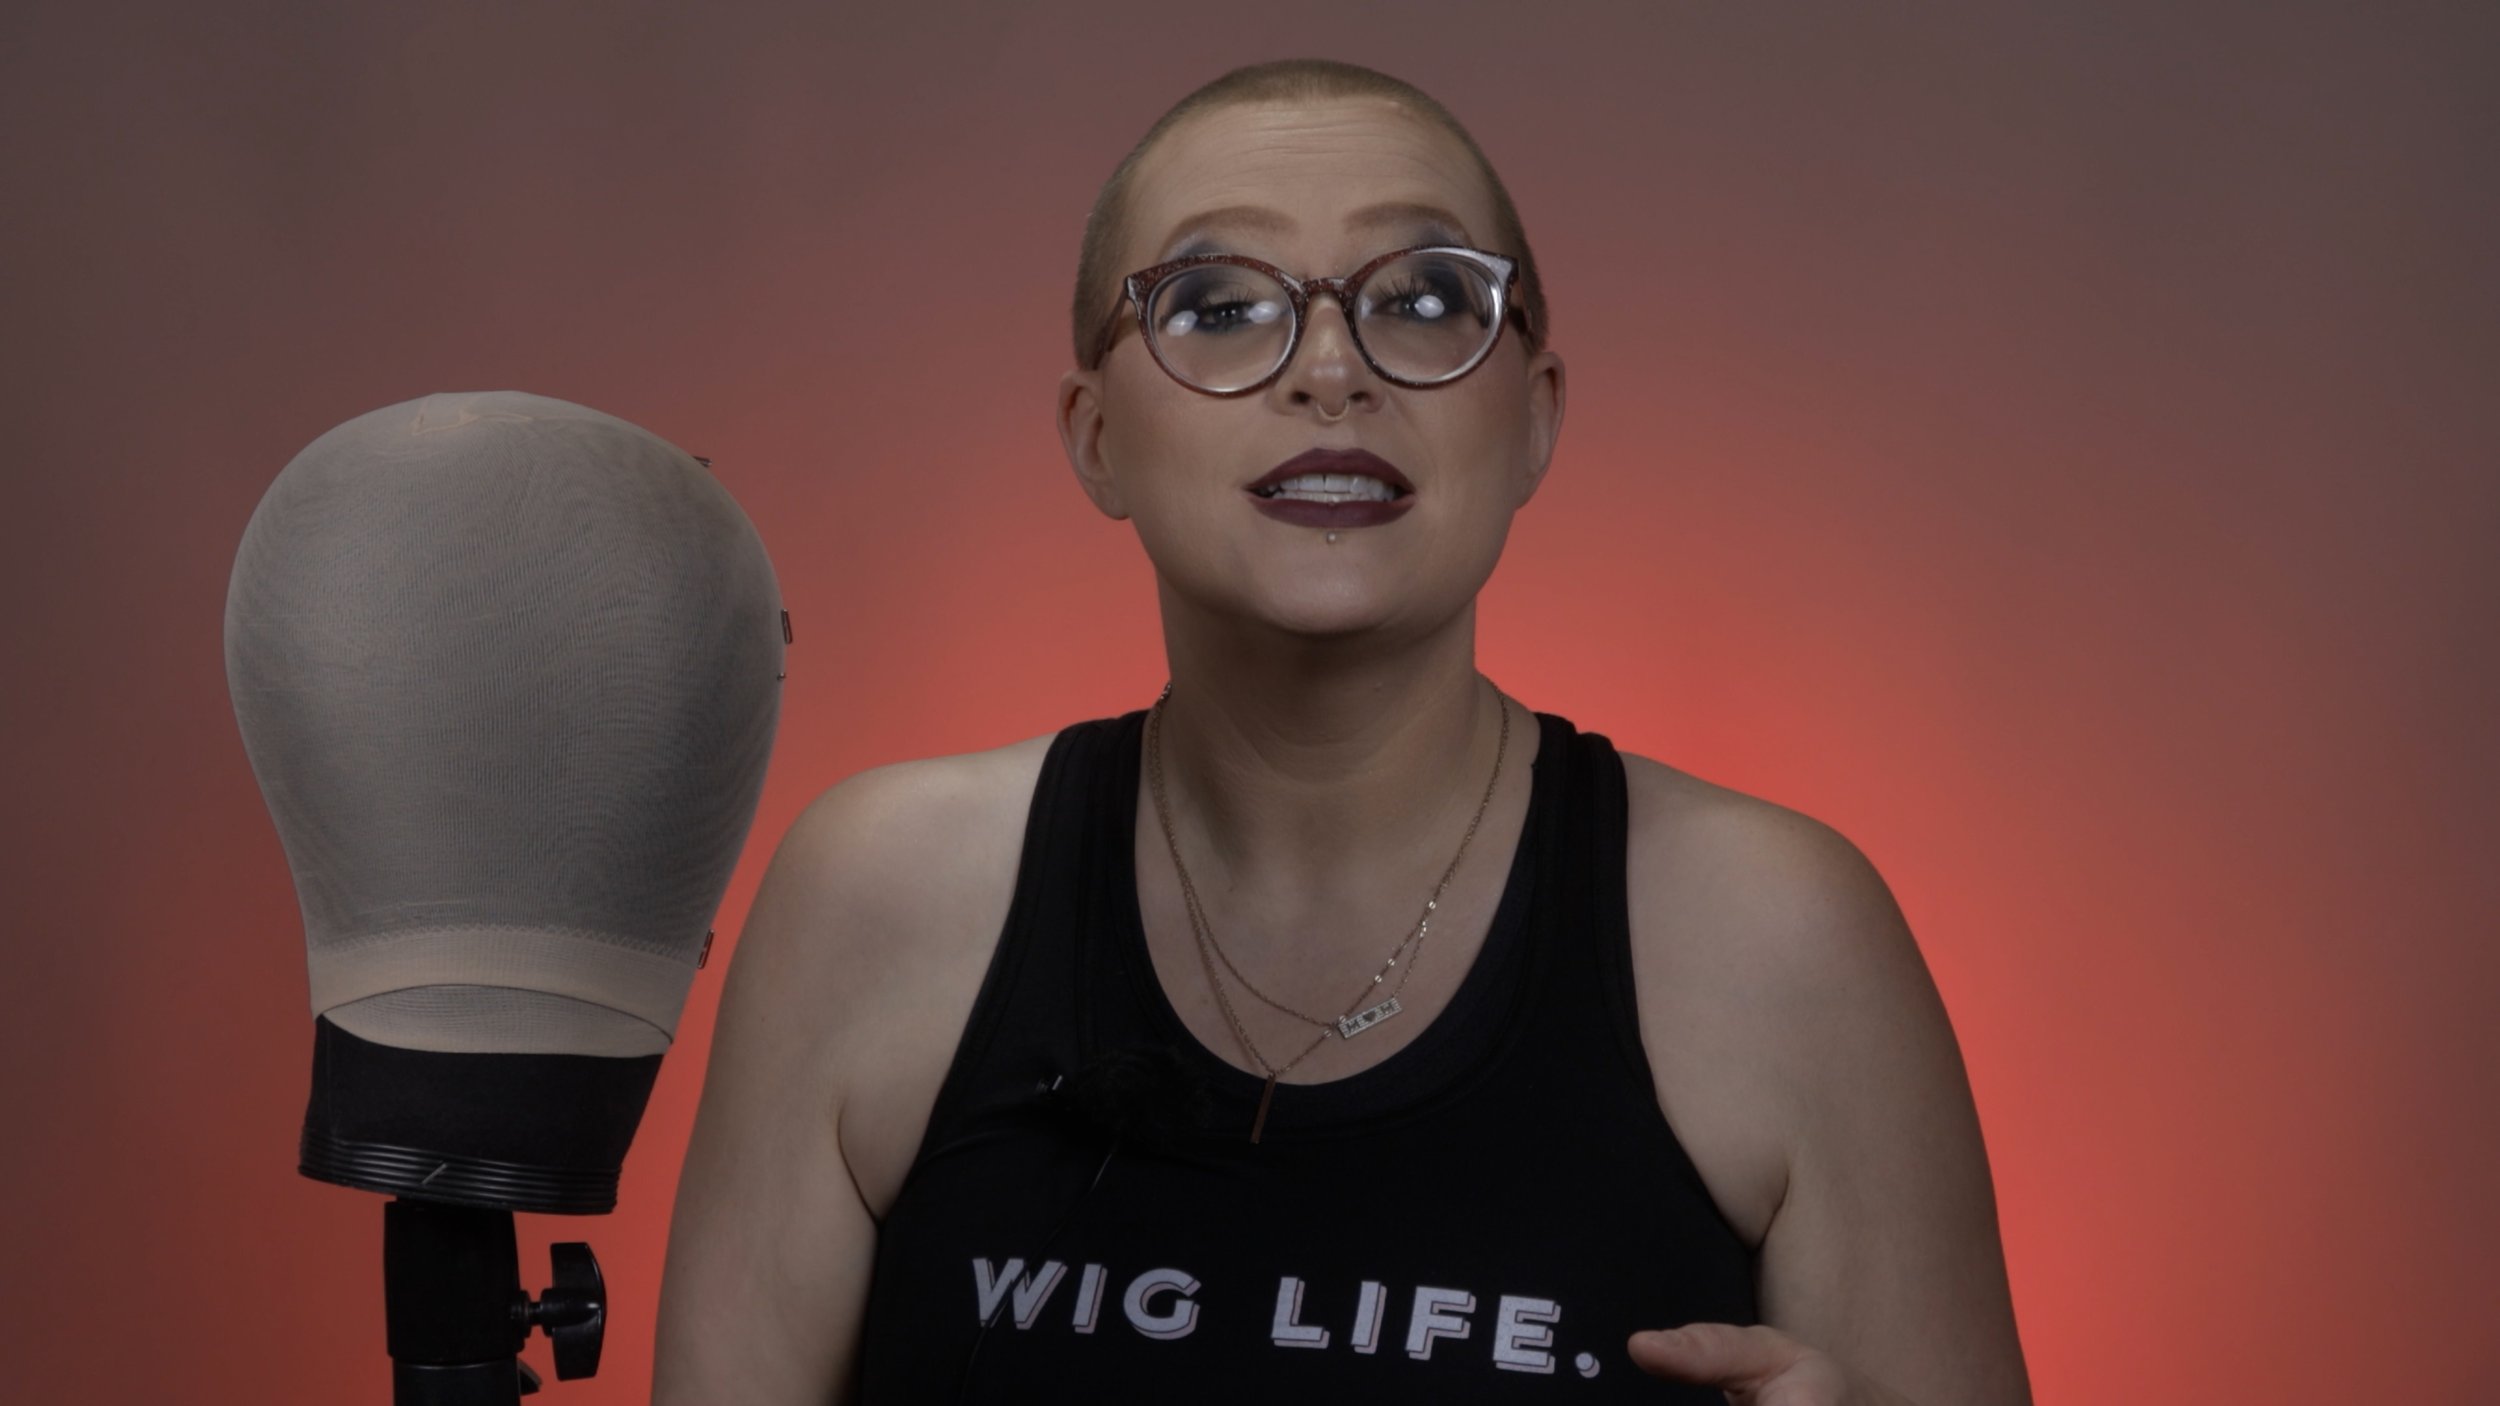
A wig head and a wig stand - These are essential tools to have when working on your wigs. You can easily find them on Amazon.
-
A curved needle (preferably) or a regular needle - Using a curved needle makes sewing on the wig head much easier, but if you don't have one, a regular needle will do.
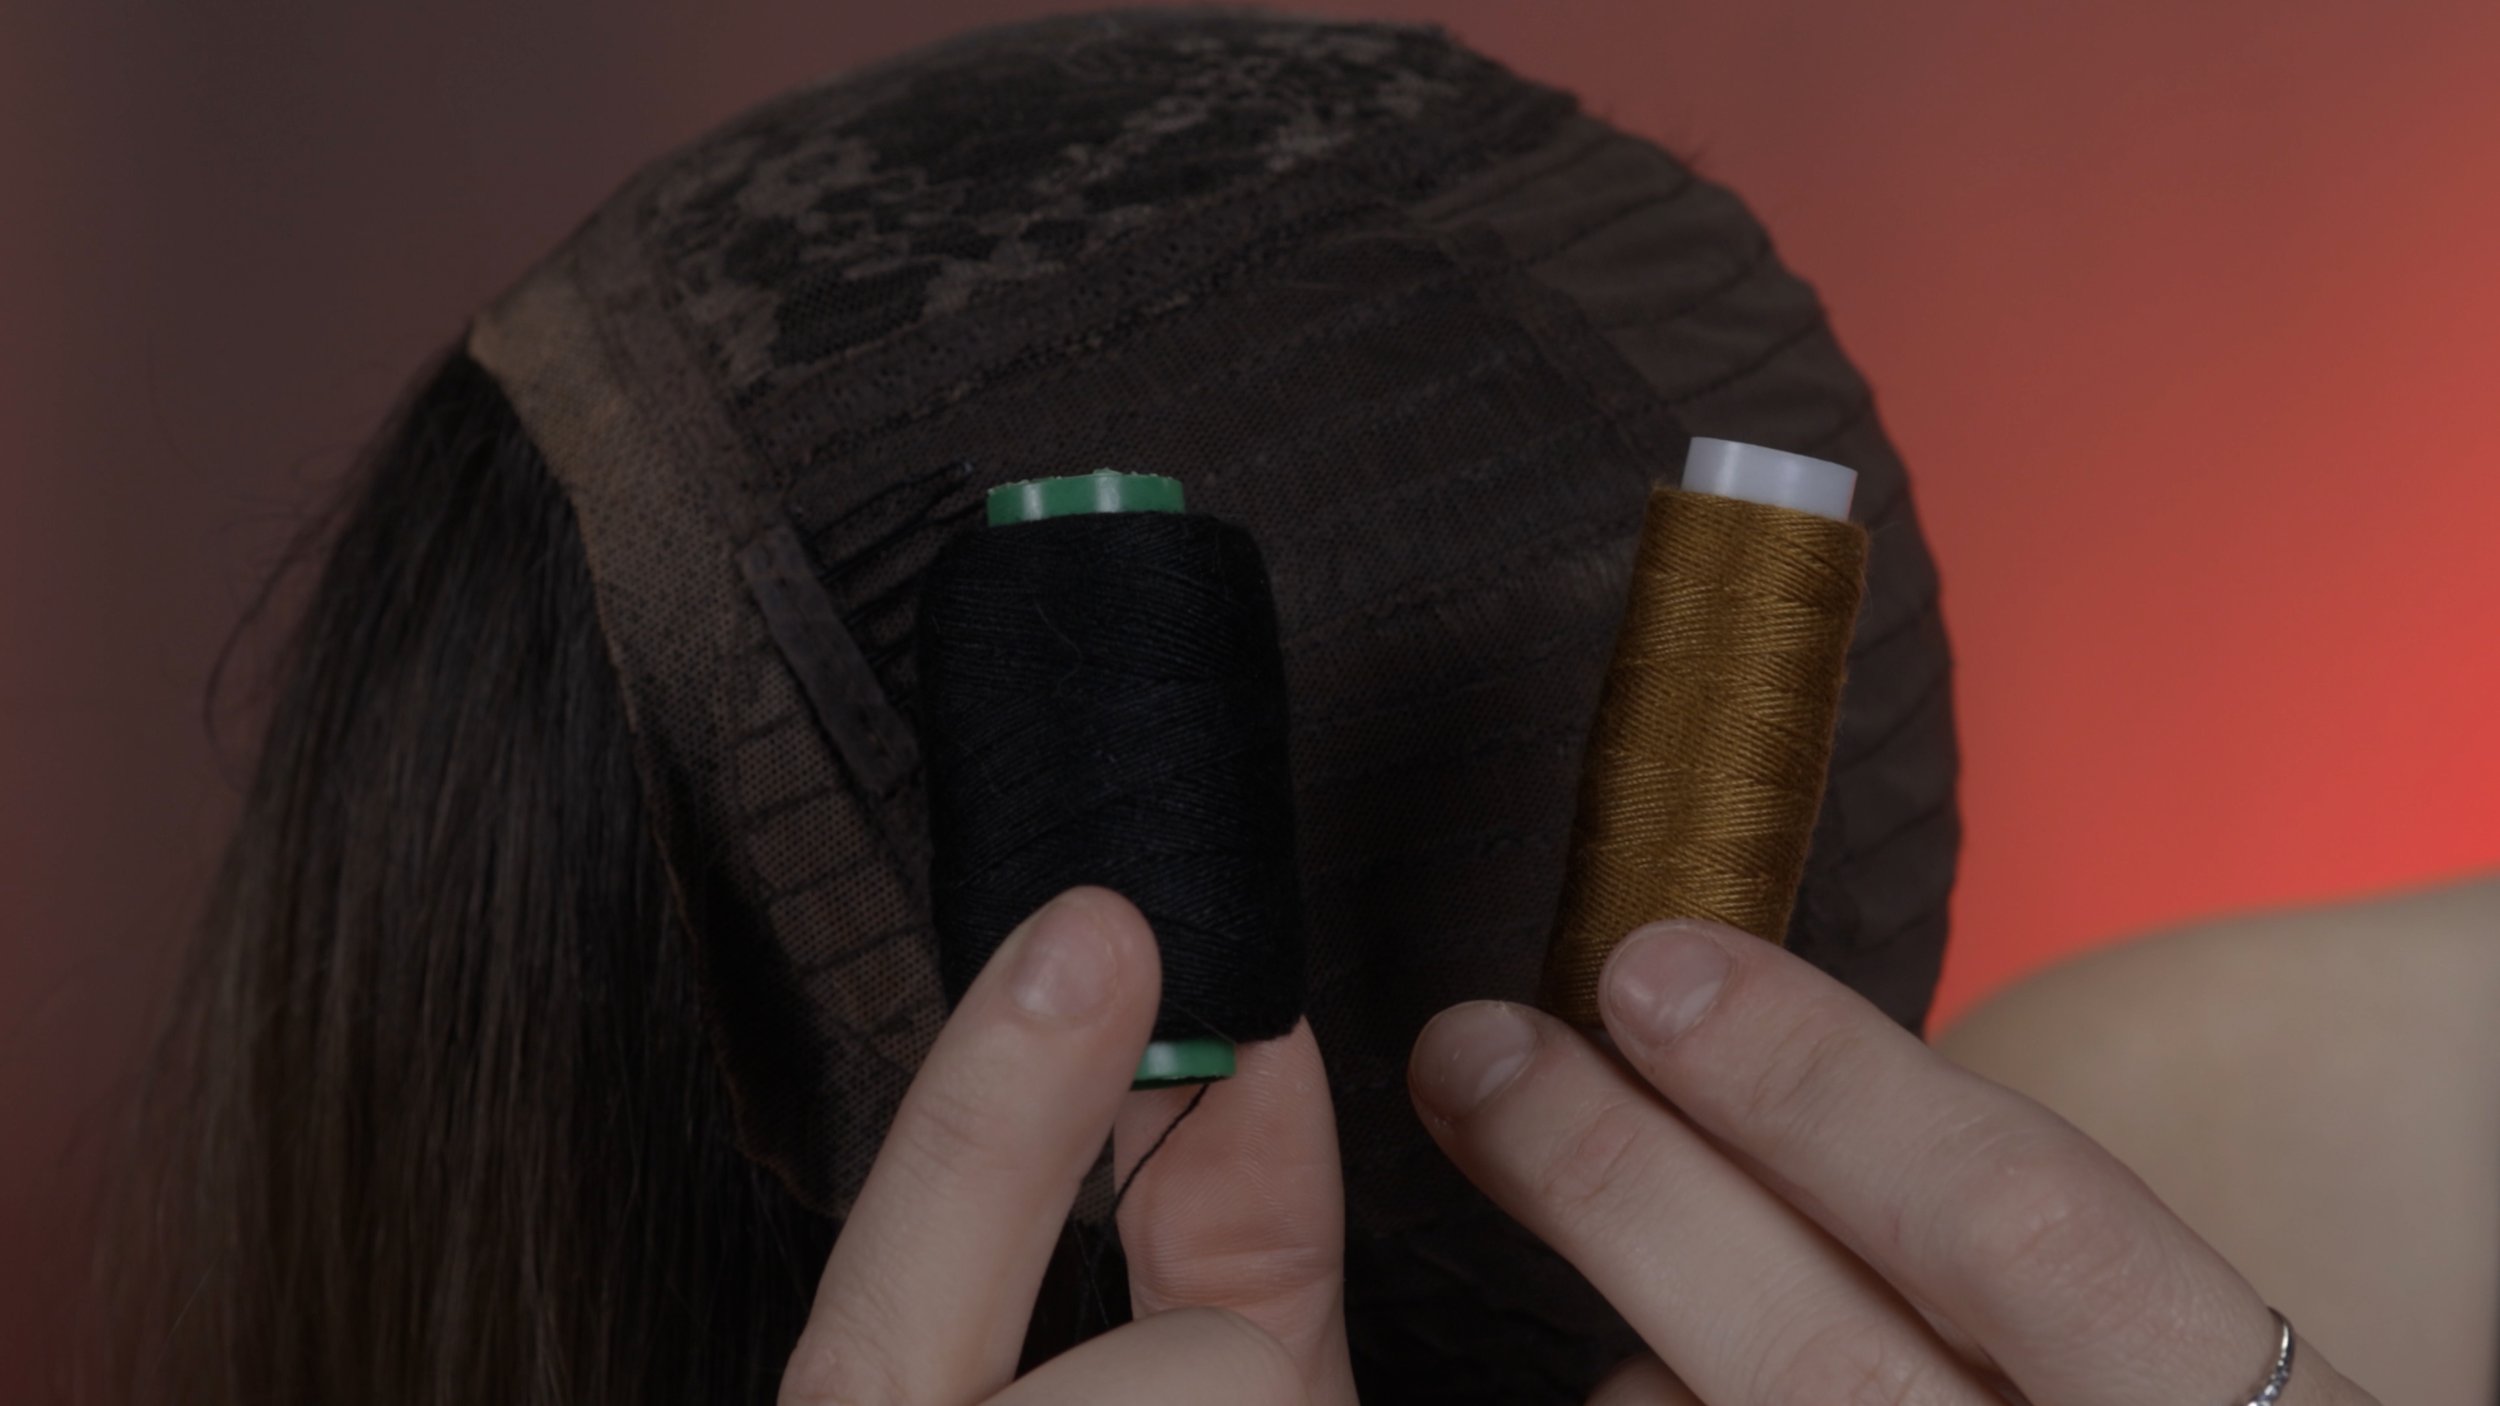
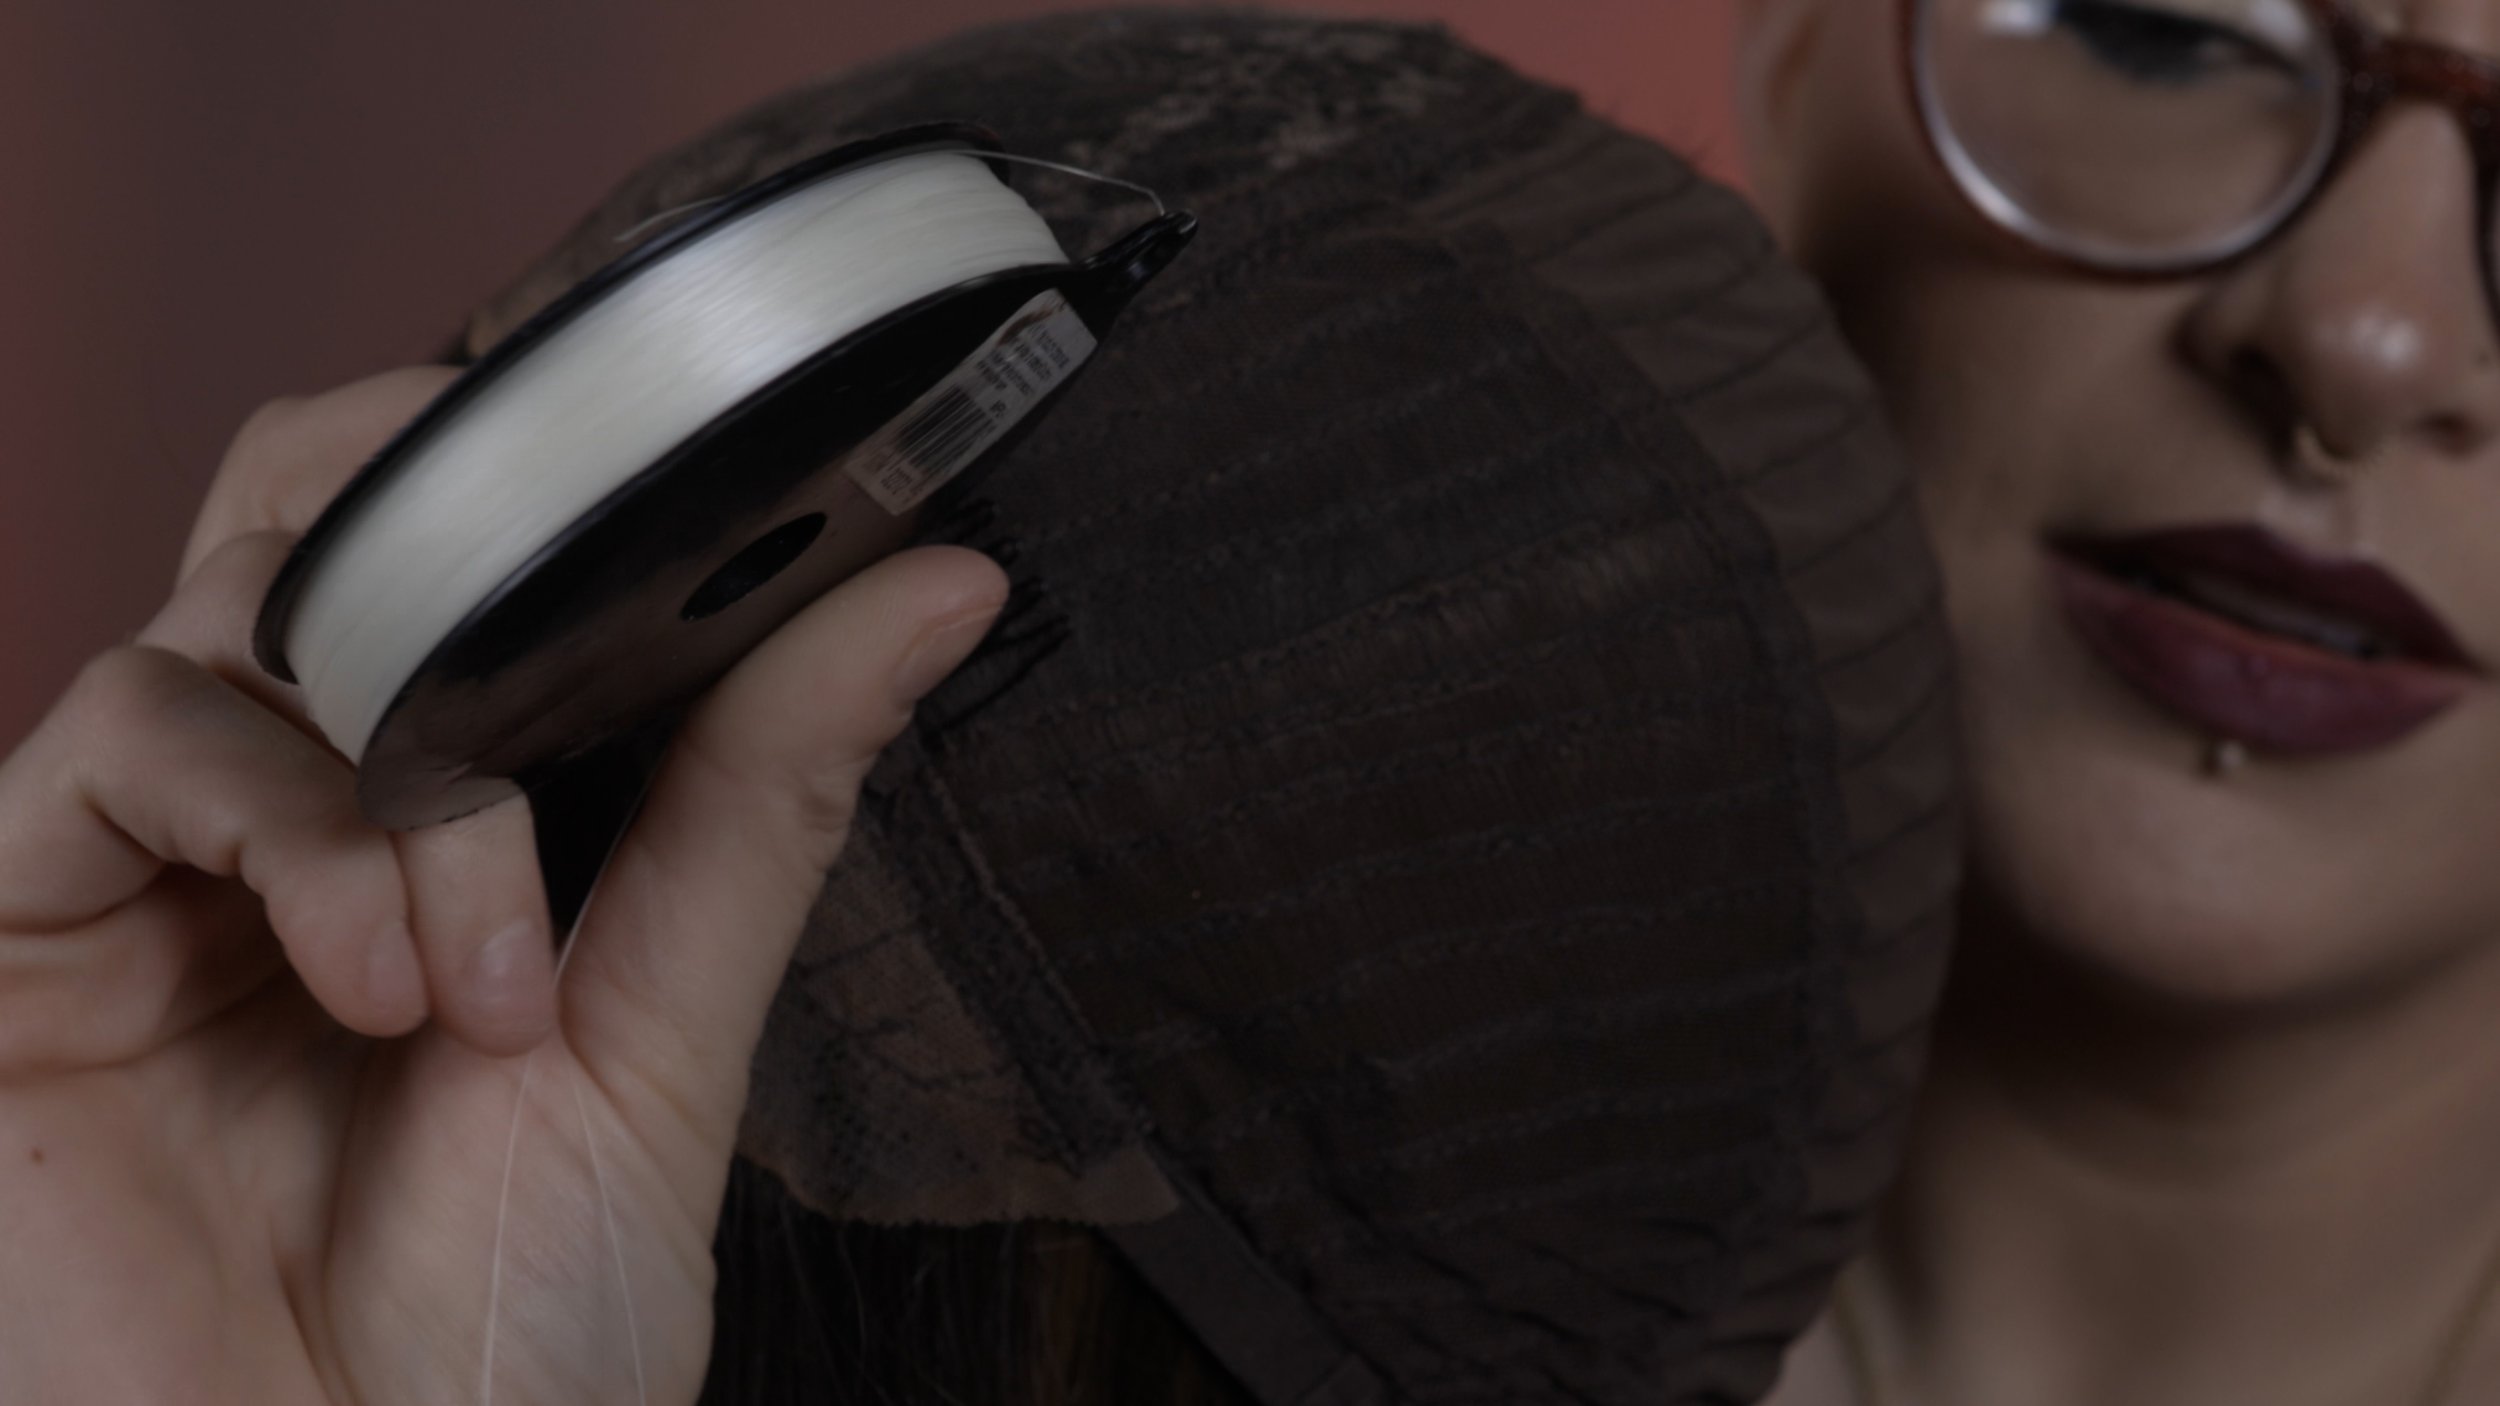
-
Thread - You have a few options here. You can use a thread that matches the cap color, the root color, or even a clear thread or fishing line. The choice is up to you, as long as you follow the steps correctly, the thread won't be visible on the outside of the wig.
Now, Let's Get Started!

-
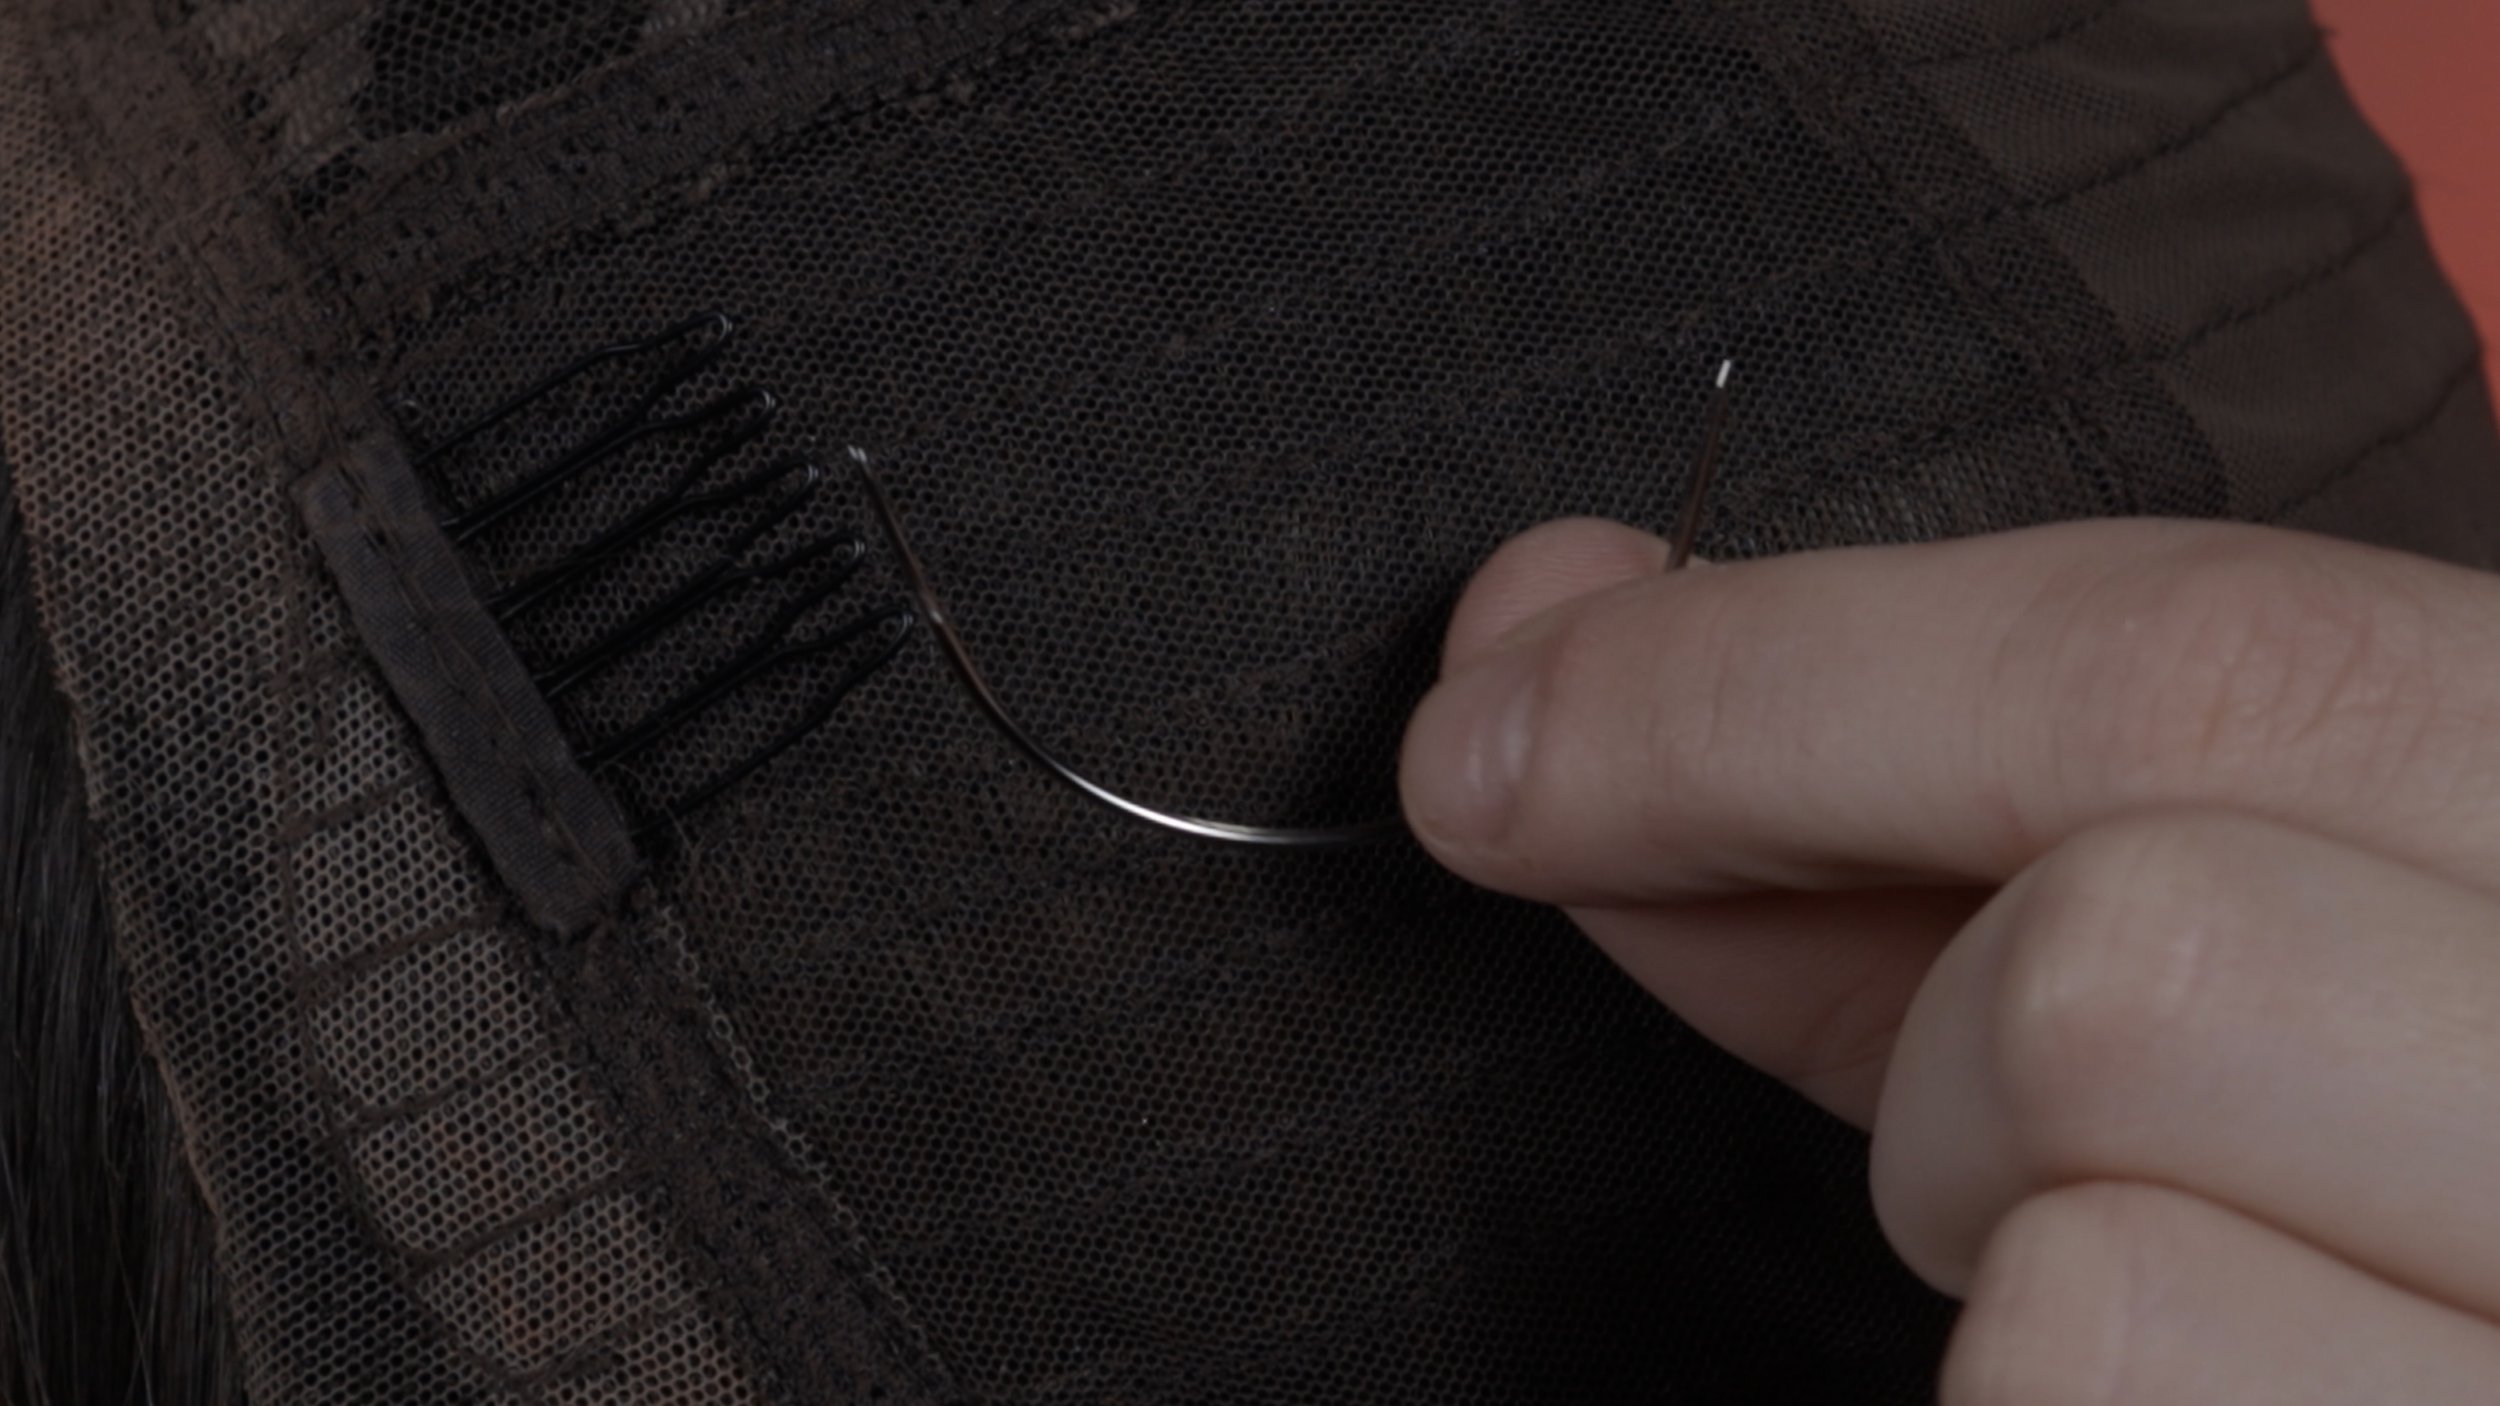
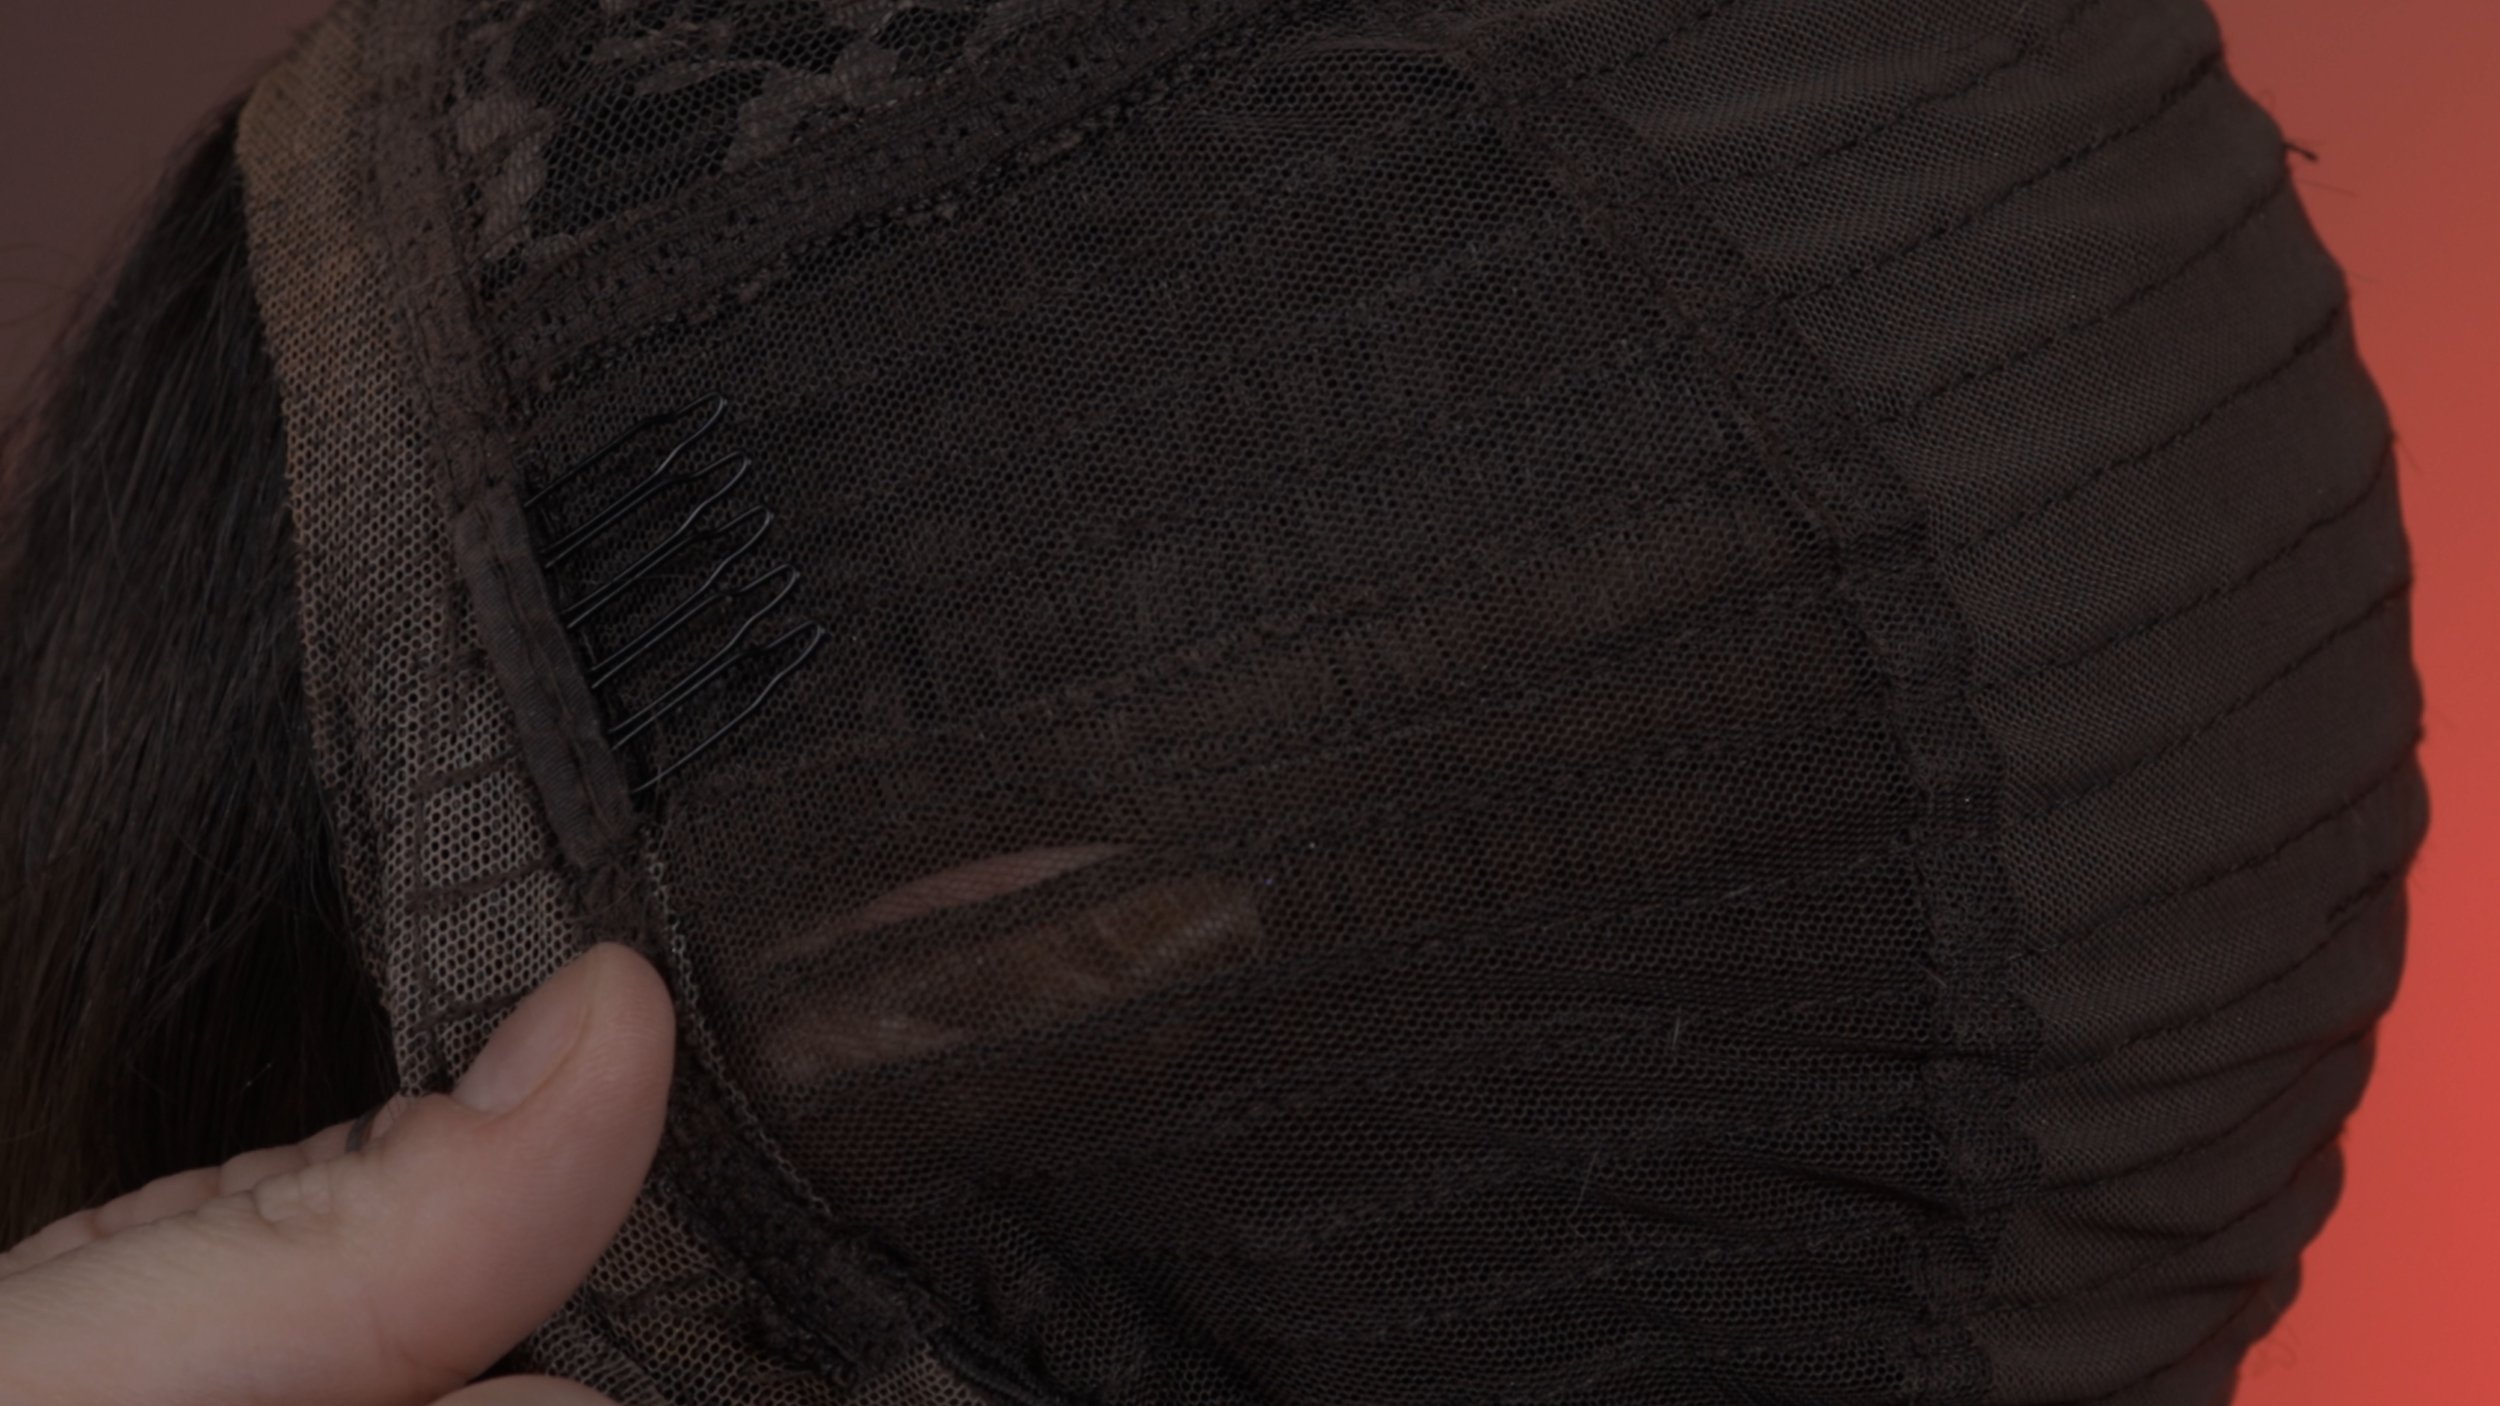
Flip your wig inside out and place it on your wig head. Secure it in place to prevent it from sliding around during the process.
-
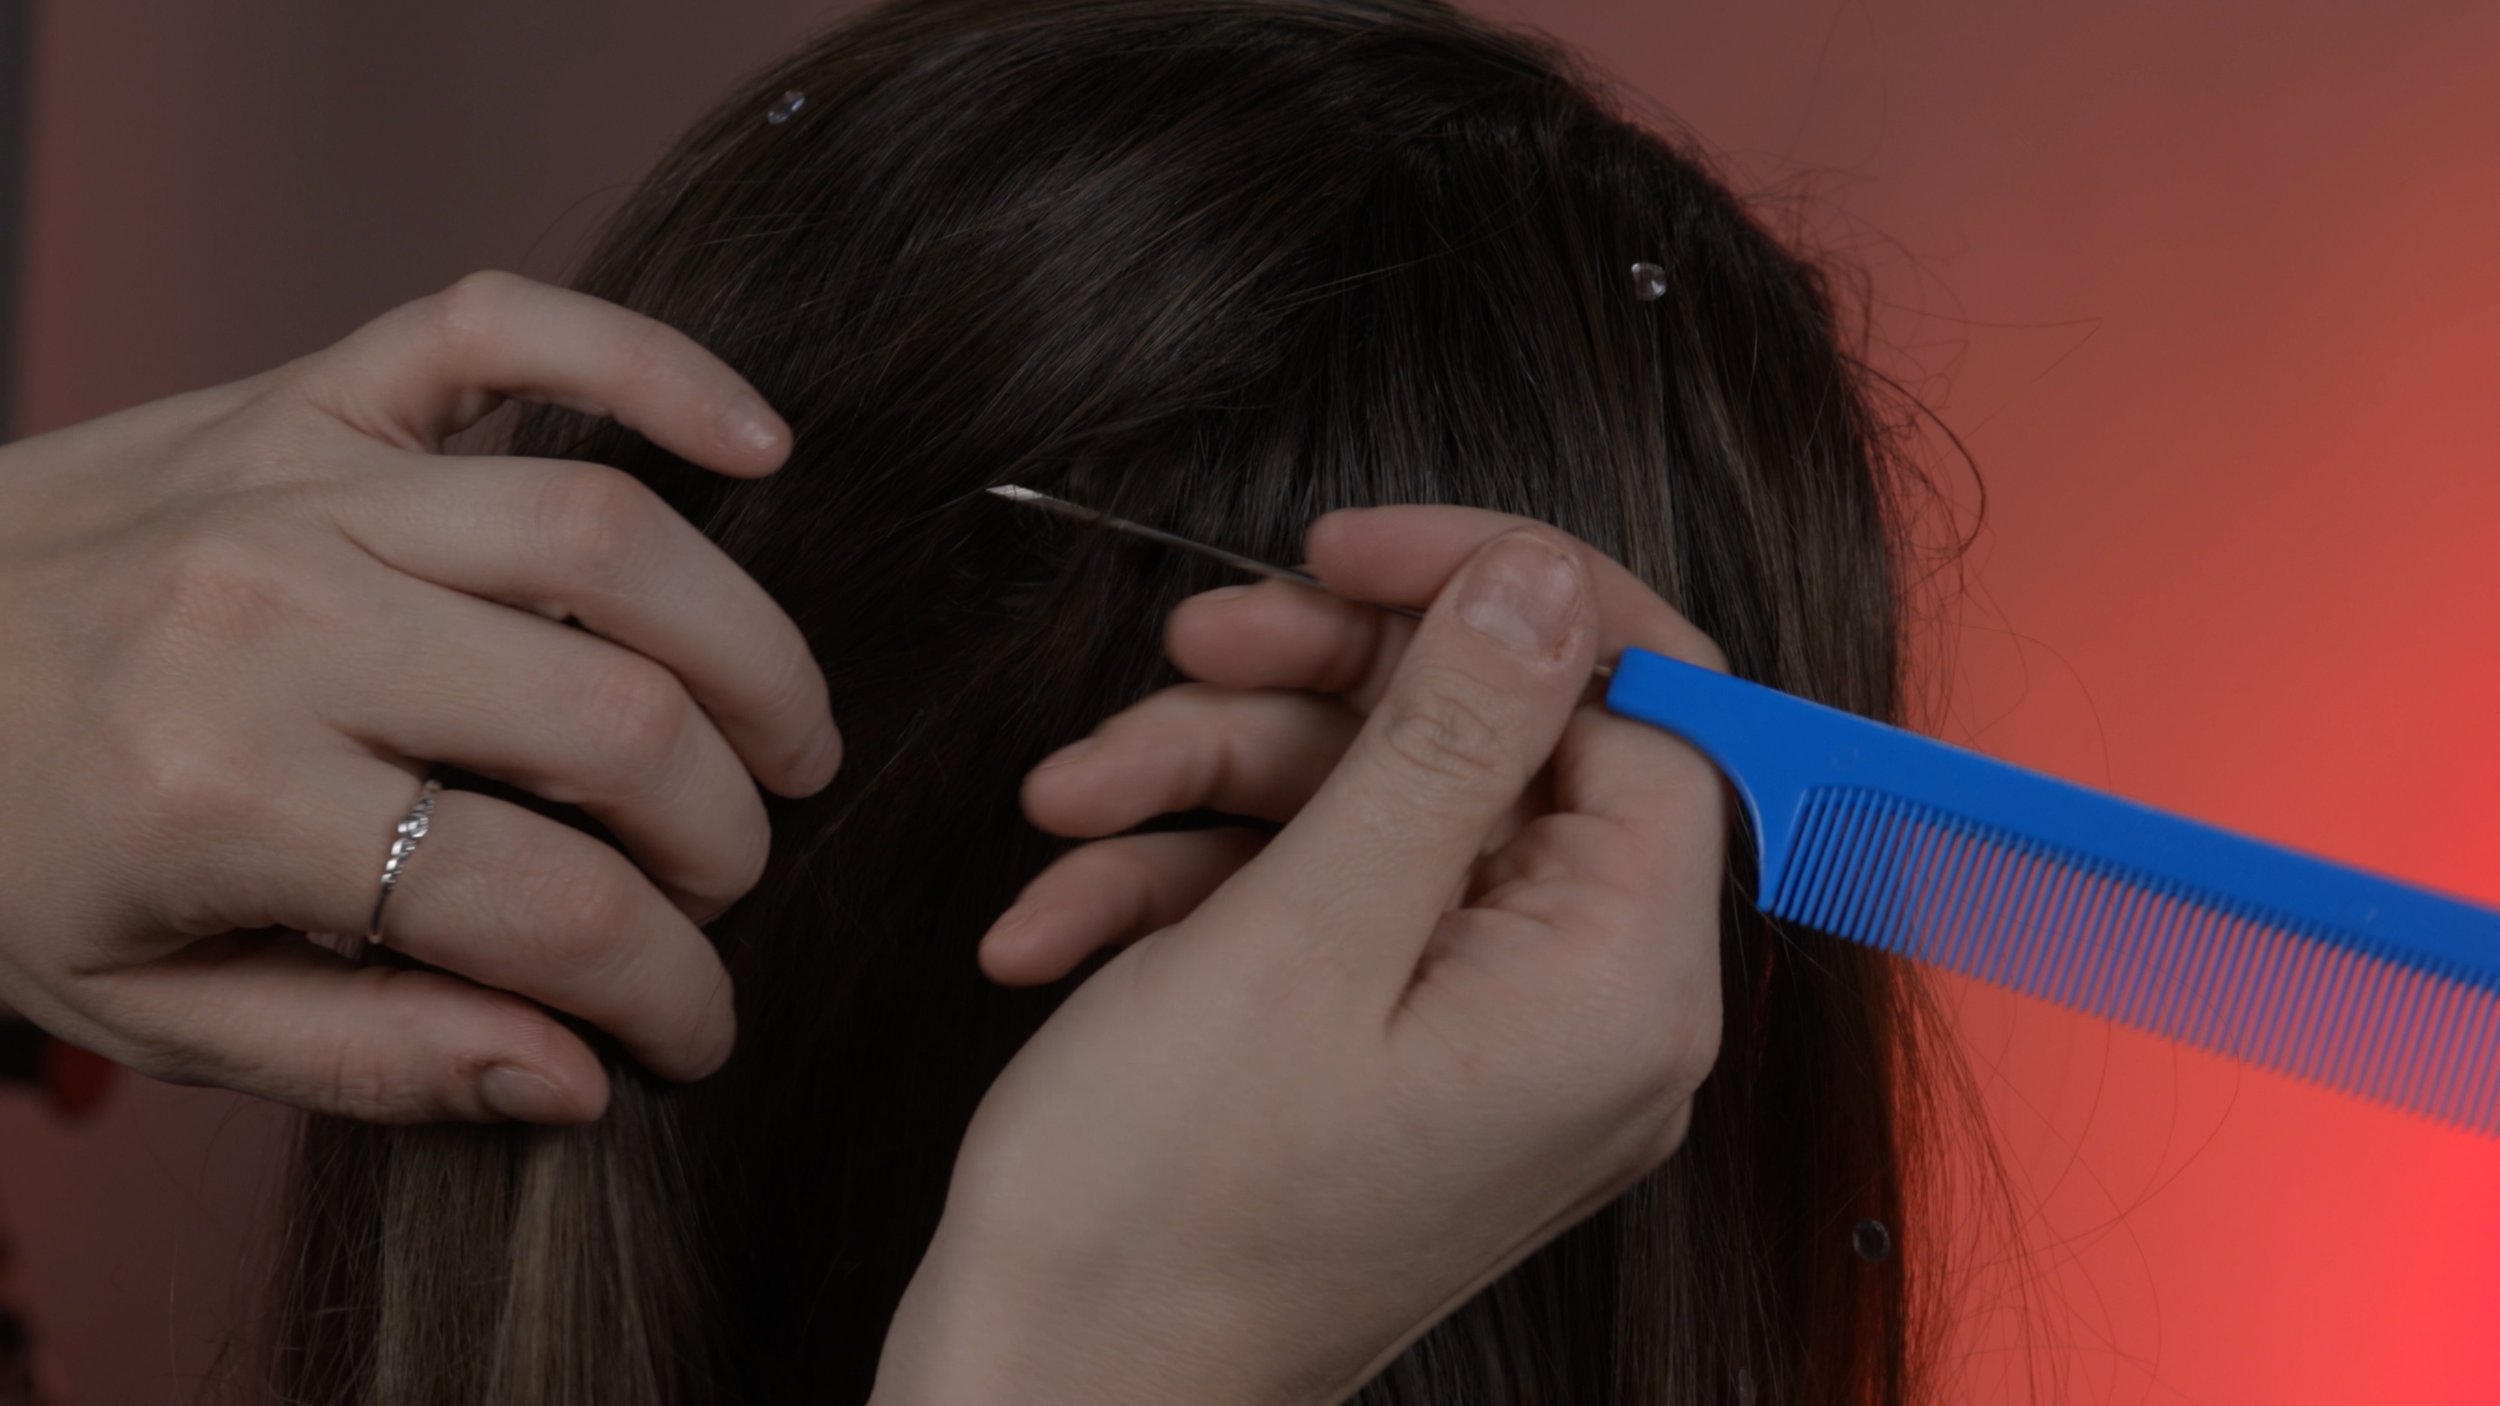
Using your finger, locate the weft attachment points on the cap. This is where you'll be sewing and cinching the wig.
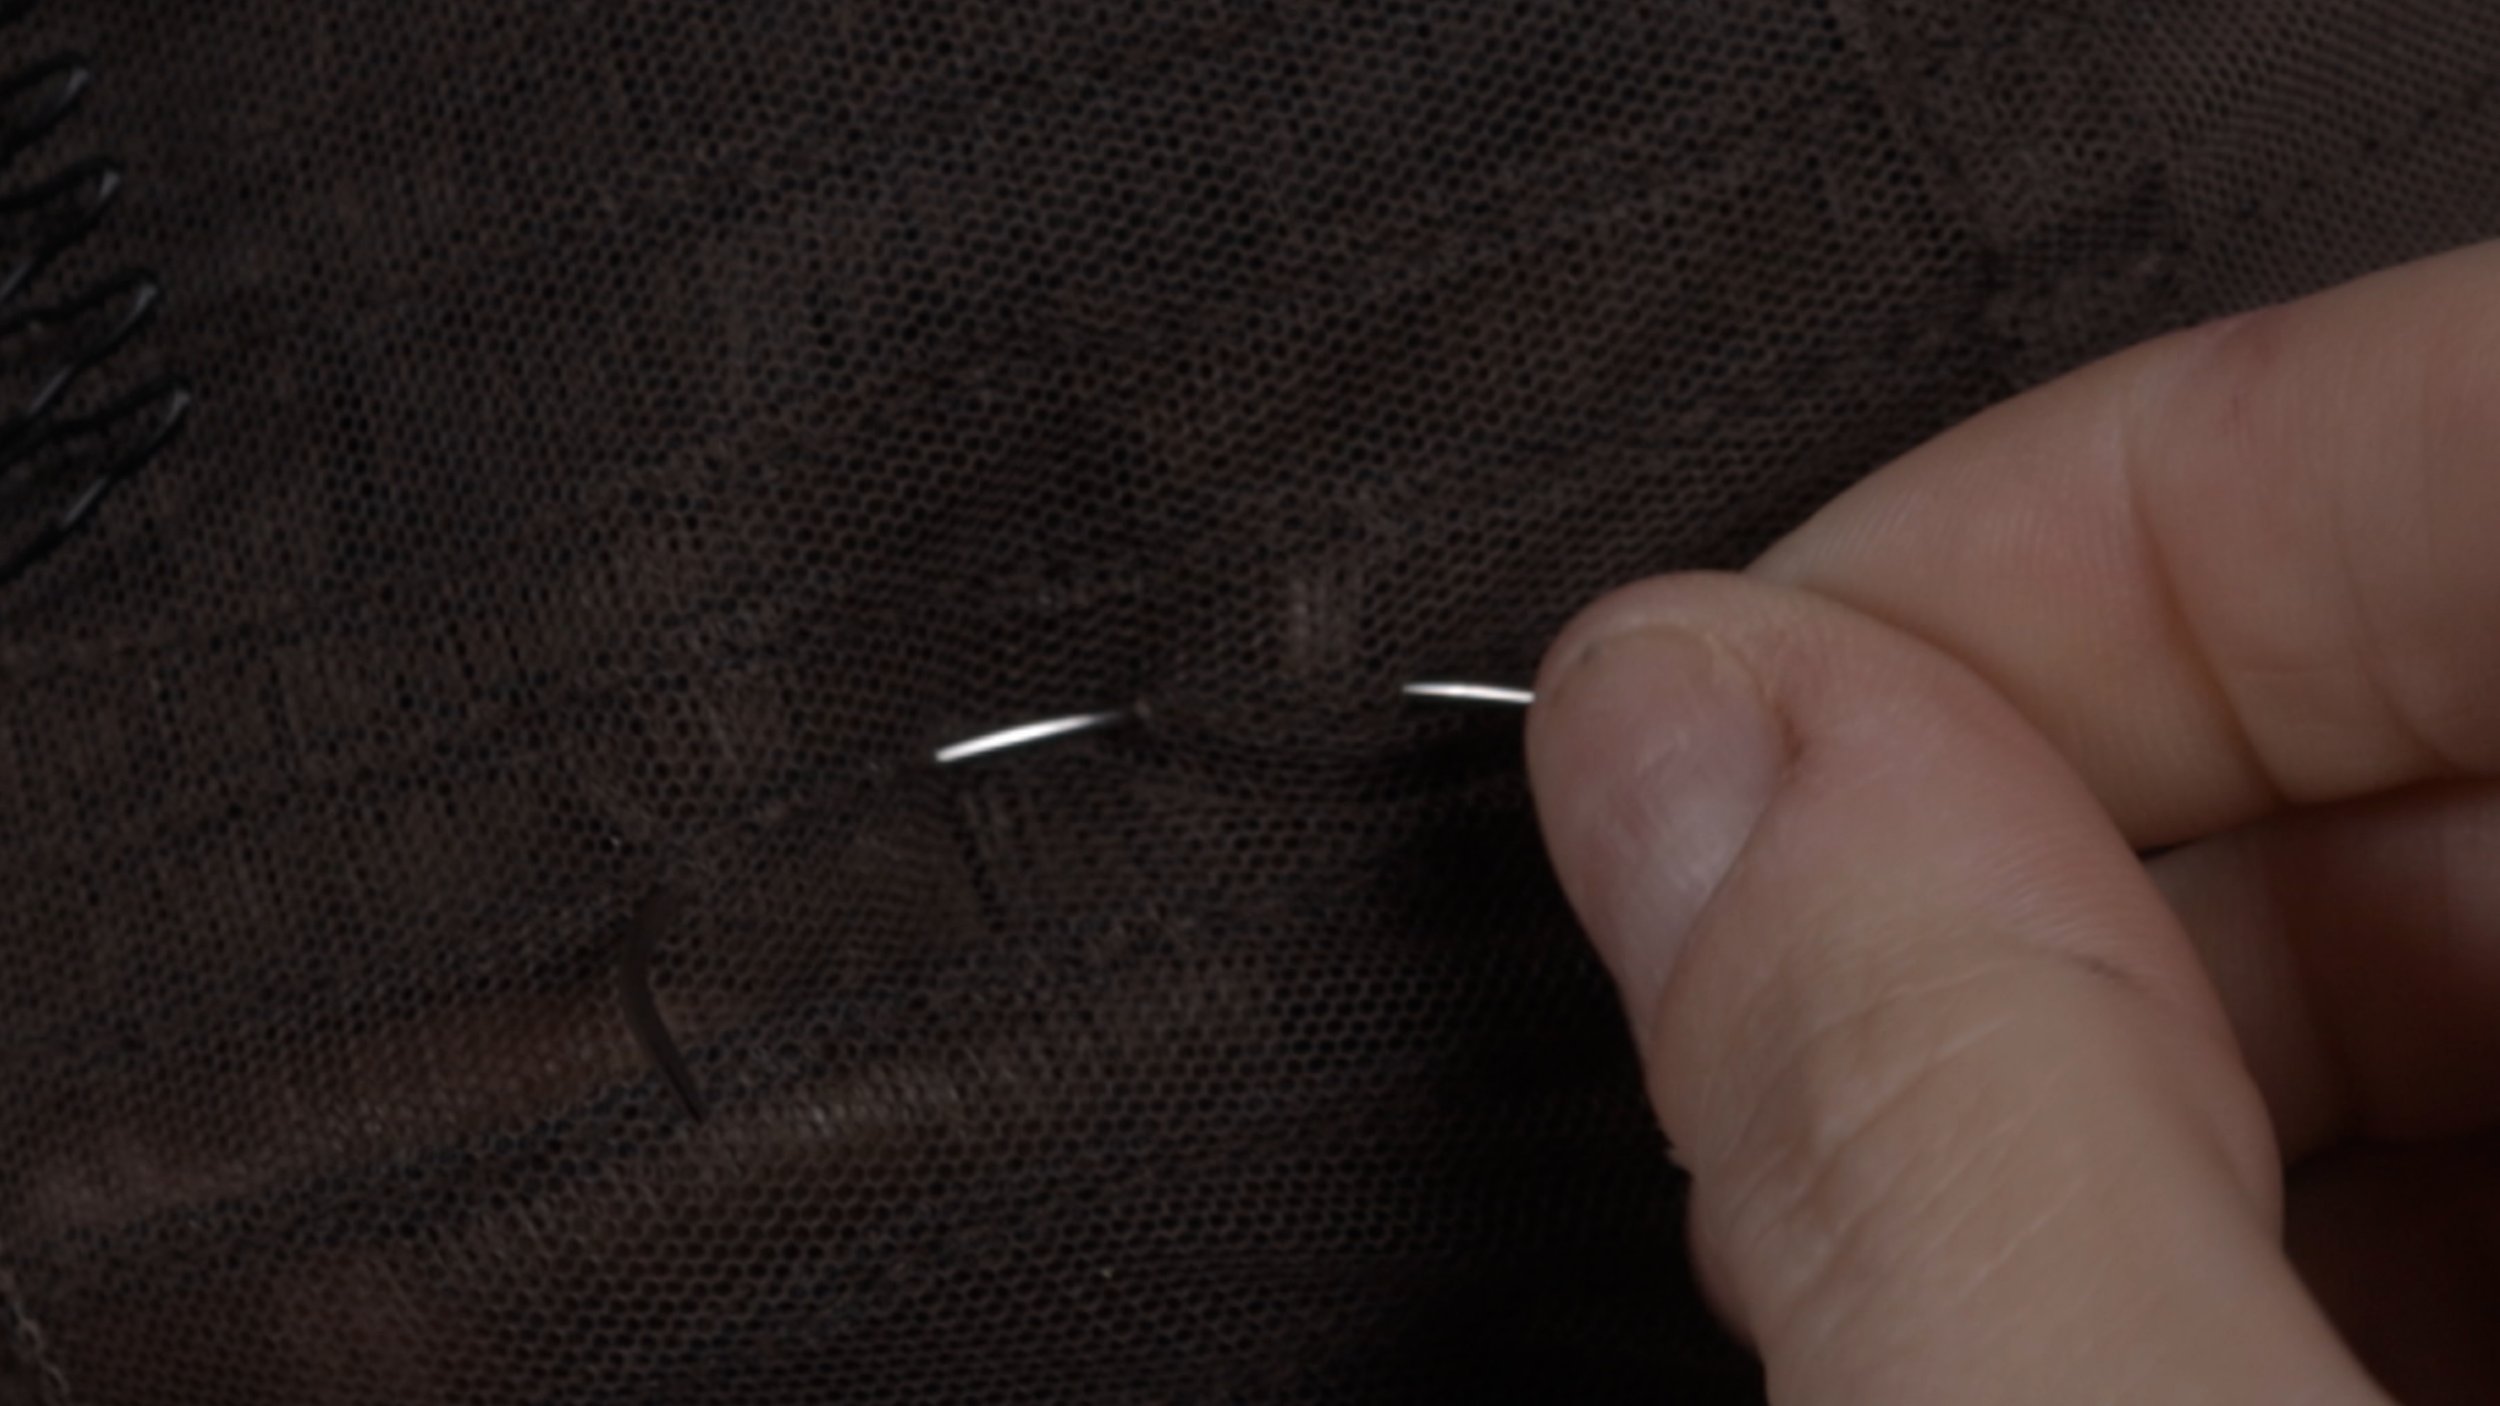
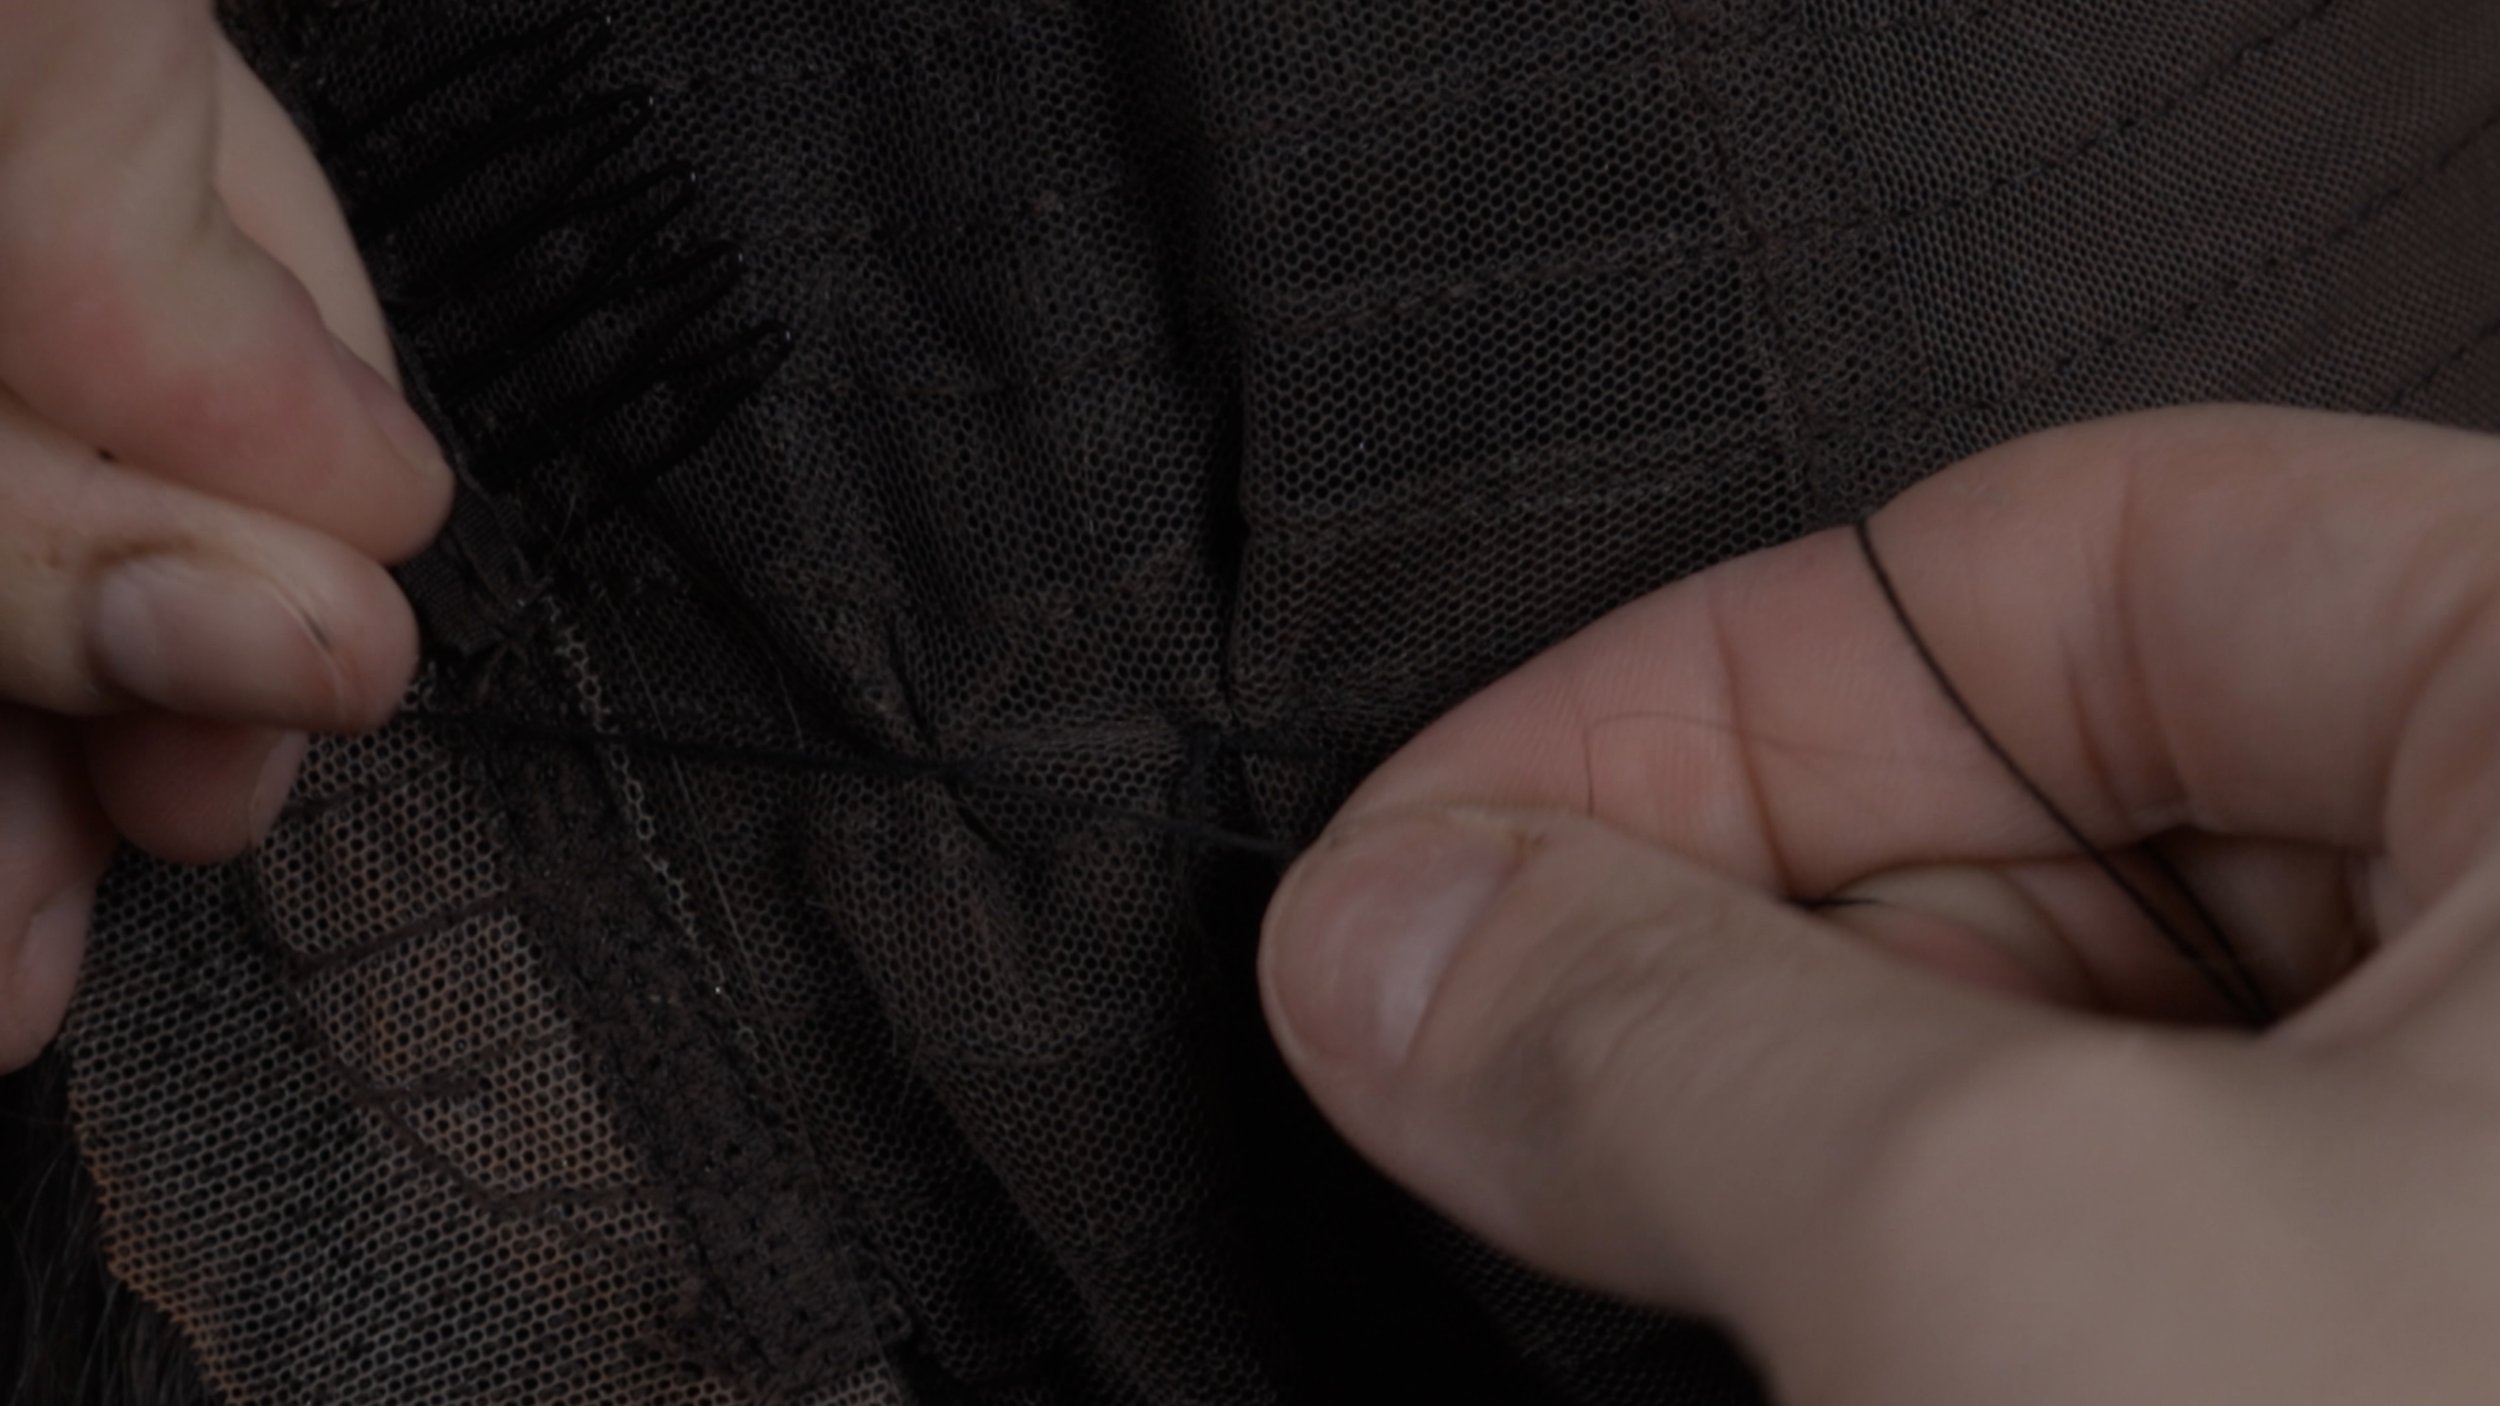
-
Start weaving the thread under and over the weft attachment points to create a nice cinching effect. You can use a three-system pattern of going over, under, over, under, and then tie it off and pull it to achieve a tight cinch. Repeat this process on both sides of the wig.
-
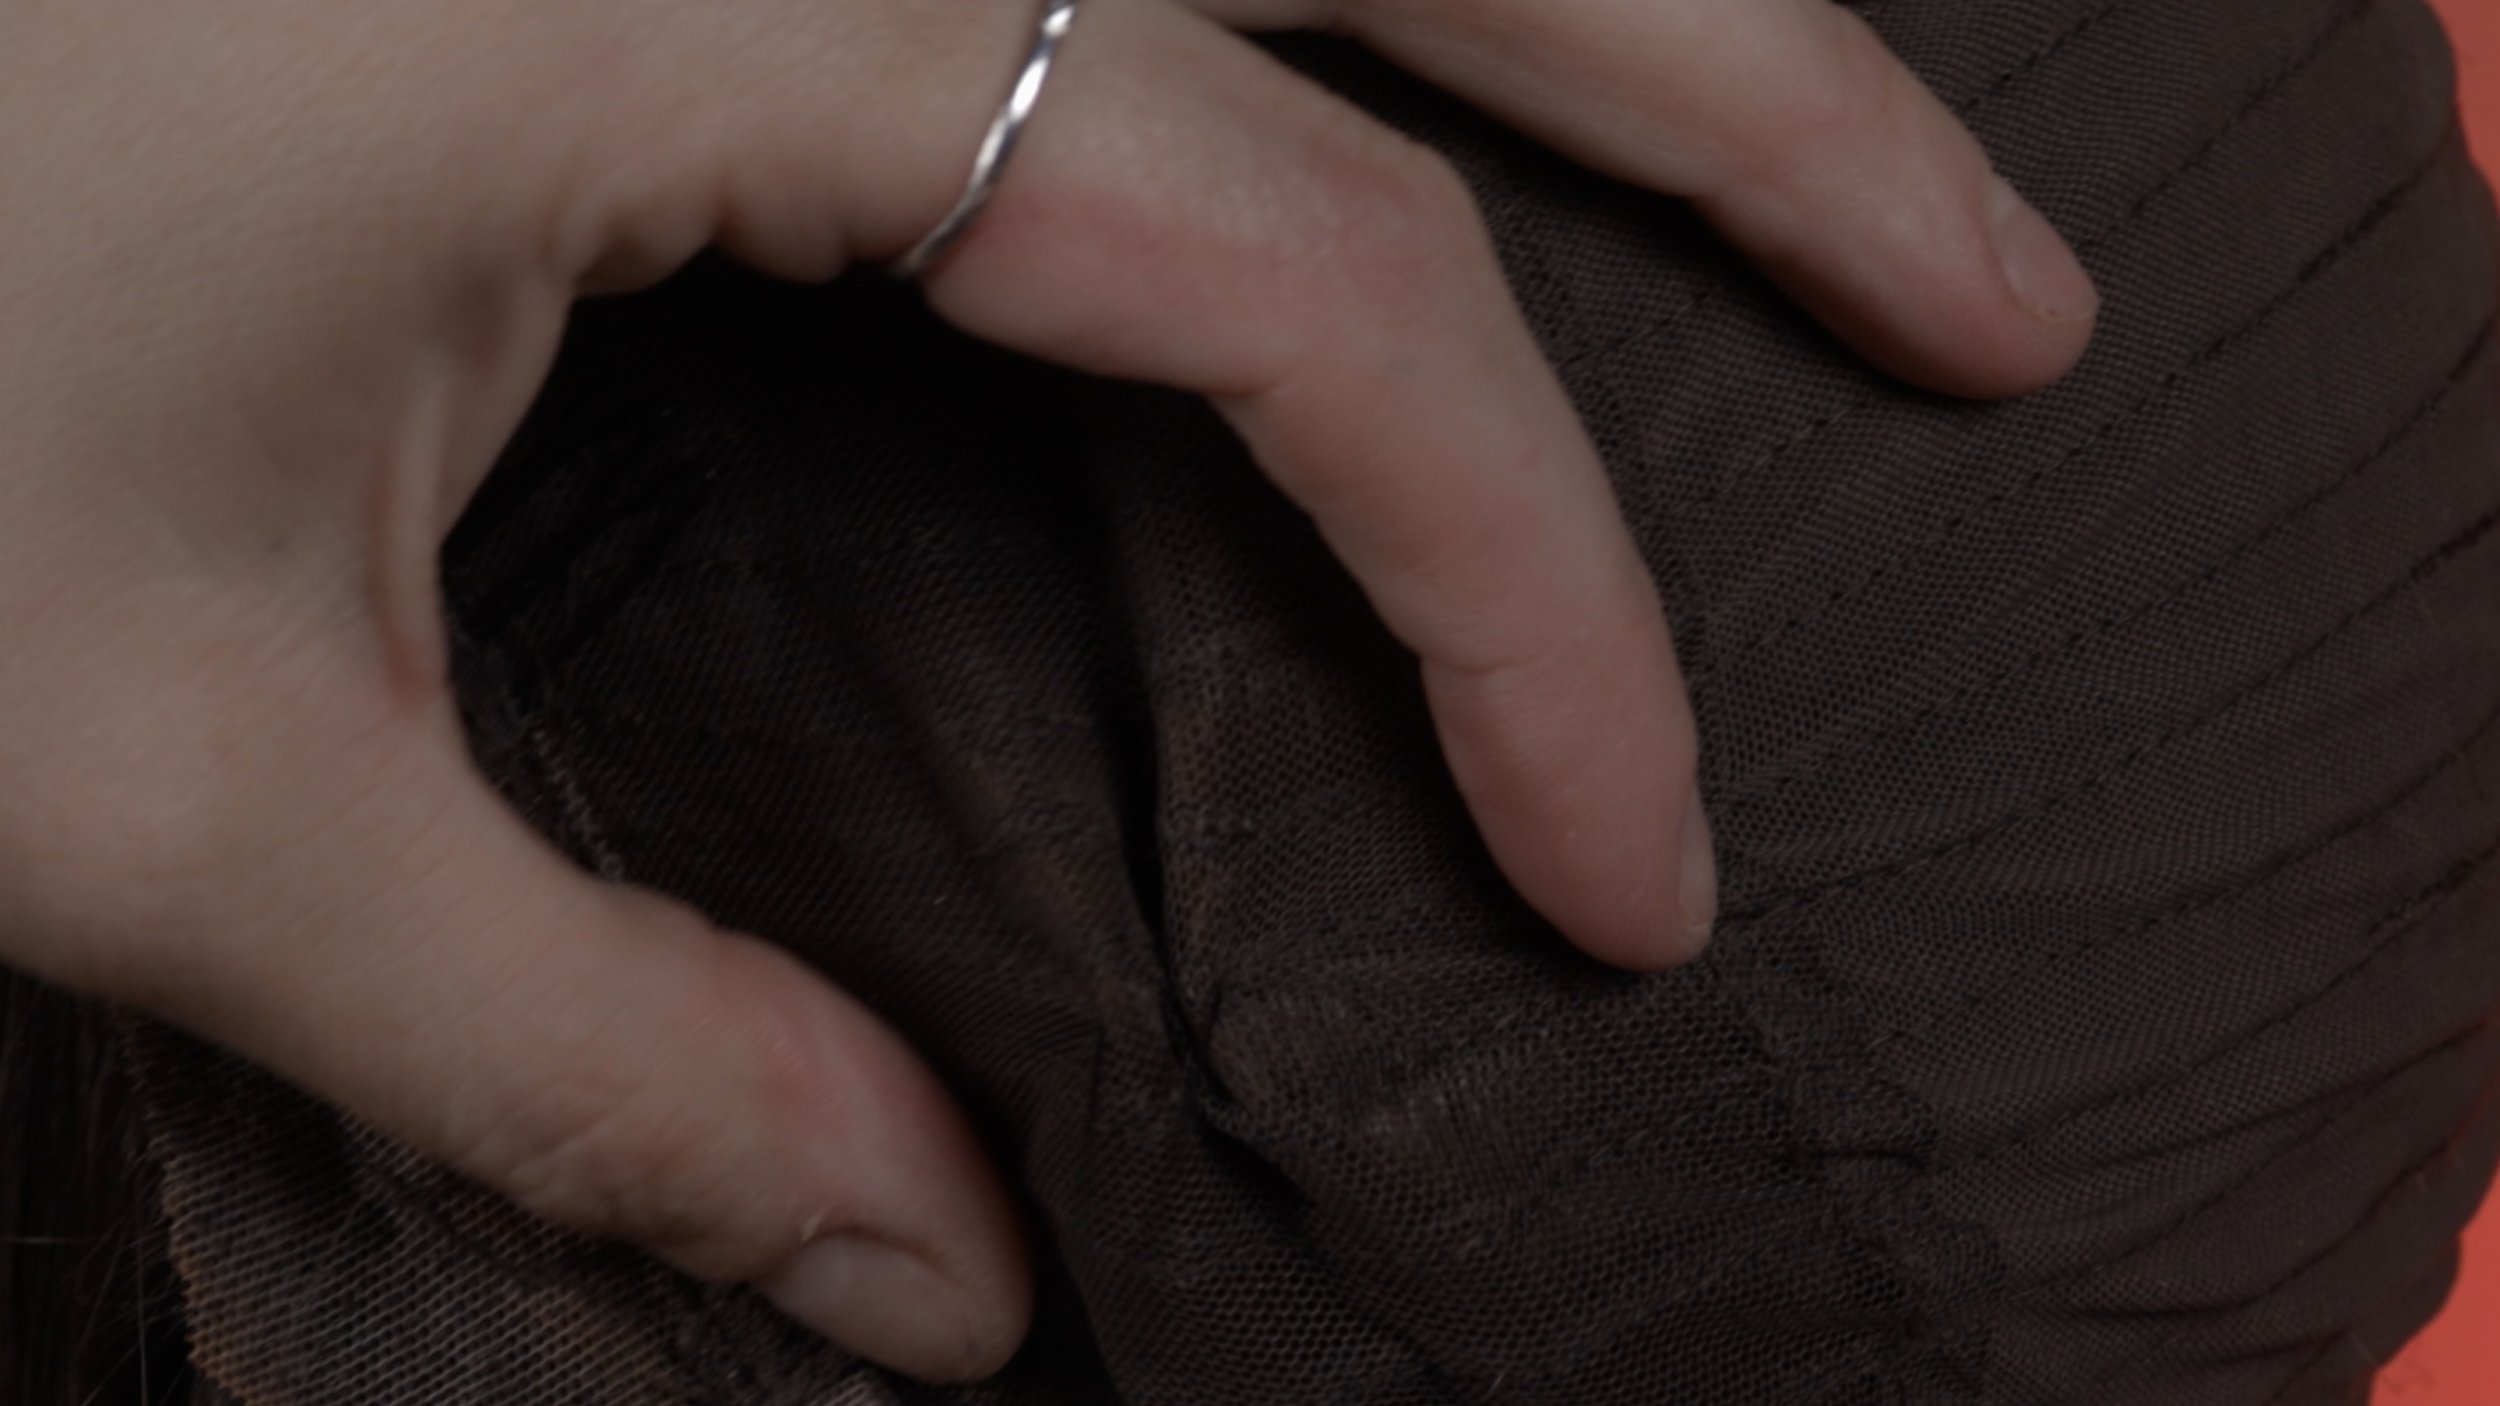
After completing the cinching on each side, try the wig on to see if you need to add more cinching. You can adjust the size by adding more cinches as needed.
-
One great thing about this method is that it's not permanent. If you ever decide to remove the cinching, simply snip it out with a pair of scissors and start over.
-
Once you're satisfied with the resizing, flip the wig back the right way and place it back on the wig head.
-
Use a rat tail comb to gently comb through the area where you sewed. This will help remove any stray hairs that may have gotten caught in the stitching.
-
Finally, style the hair as desired and enjoy your resized wig!
Now Rock Your Fabulously Fitted Wig!
That's it! This method allows you to resize your wig without having to commit to cutting. It's easy, reversible, and perfect for those who wear glasses or have a smaller head from ear to ear.
I hope you find this tutorial helpful. Don't forget to check out the video for a visual demonstration. If you have any questions, feel free to leave them in the comments below. Happy wig resizing!
Live Your Best Wig Life!

Written By: Jesse M. Simons